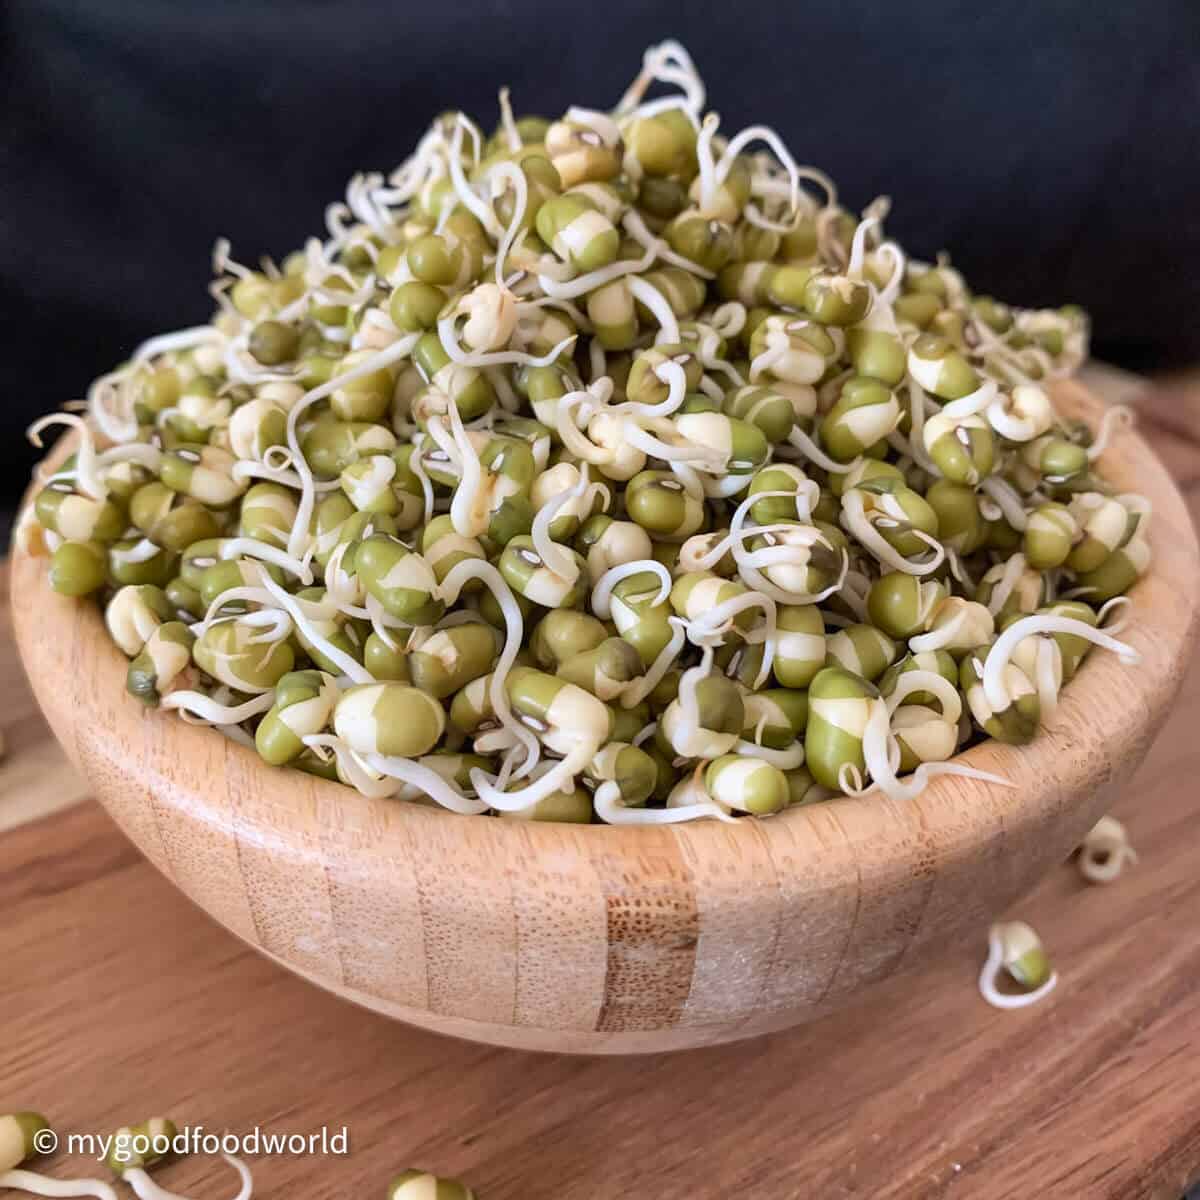
Learn how to sprout mung beans at home using my easy colander or cloth method. In this step-by-step guide, I'll show you how to get crunchy, sweet sprouts in just 2-3 days, so you can be on your way to making a fresh sprouted mung bean salad and more!
Save This Recipe
Enter your email & I'll send it to your inbox.
By submitting this form, you consent to receive emails from MyGoodFoodWorld
Learning how to sprout mung beans at home is easier than you think. And it is a total game-changer! Homegrown sprouts are natural, sweet, and have a far superior flavor compared to the store-bought versions.
Whether you call them green gram sprouts, green moong dal sprouts, or simply mung sprouts, don't worry! They are all the same thing, just with different names used across the globe.
Home-Grown Mung Bean Sprouts Vs Store-bought
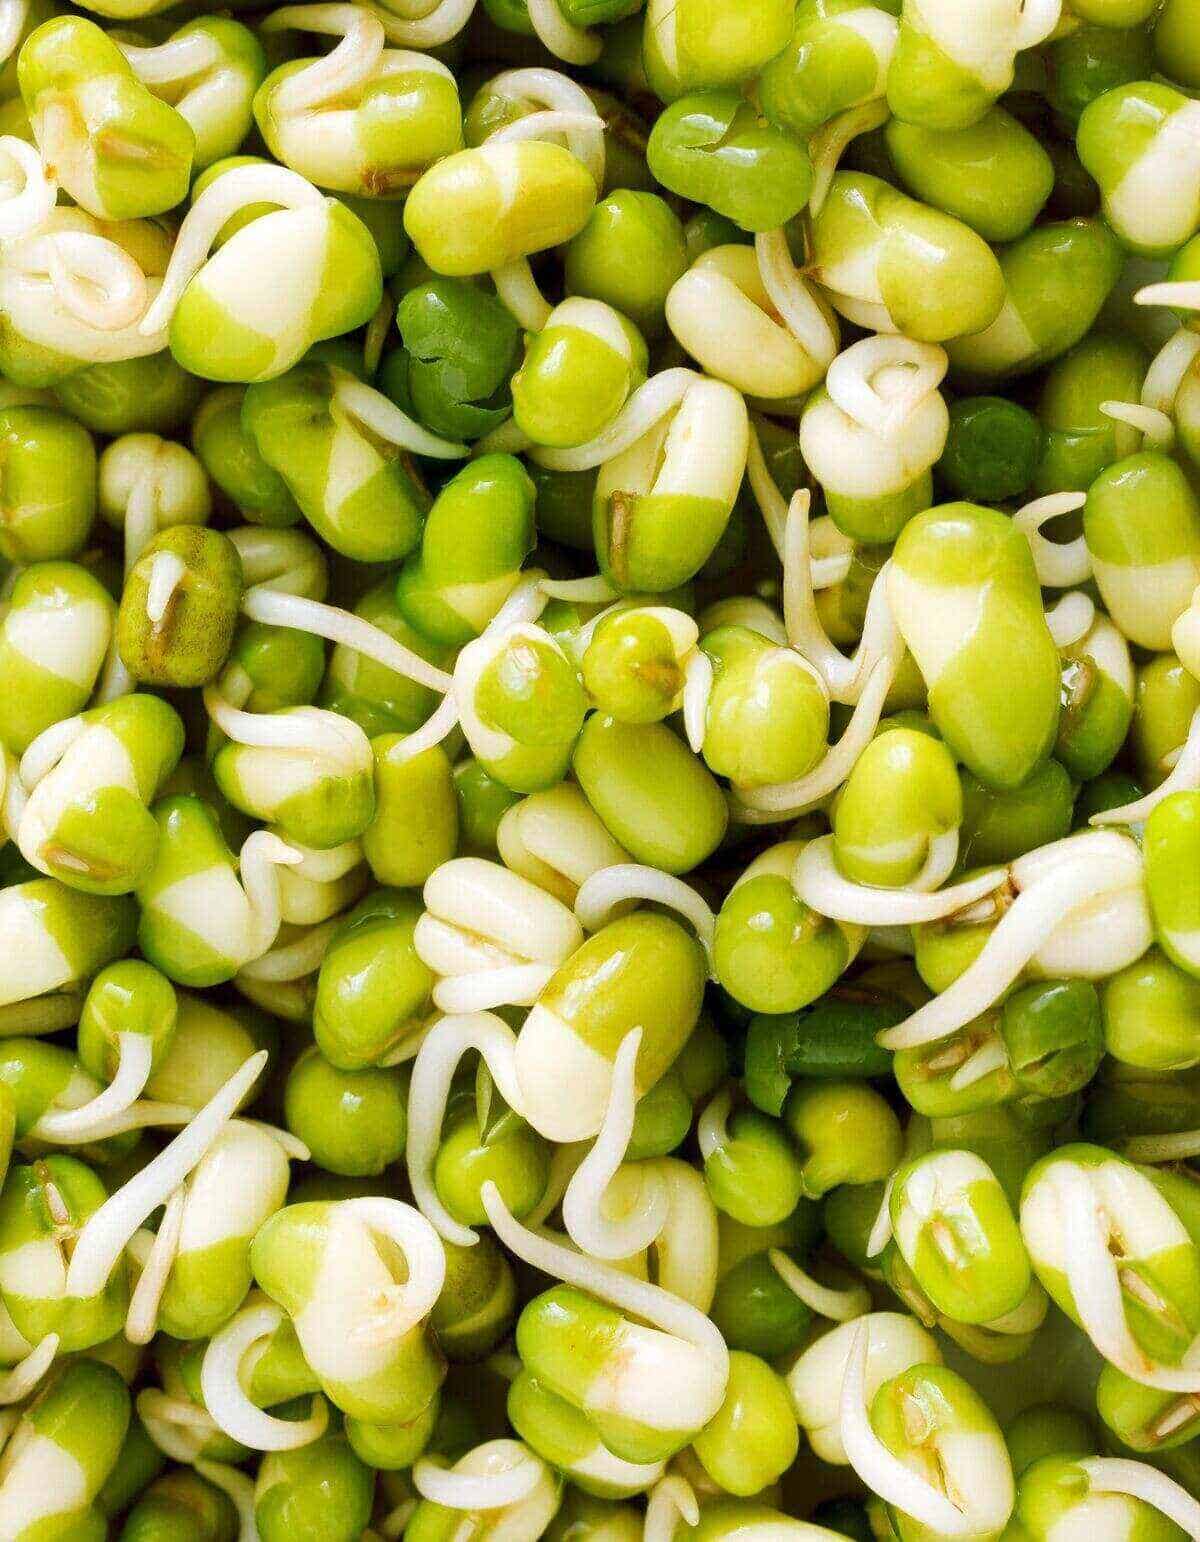
Ever wondered how thick and plump the store-bought bean sprouts look? That's because commercially grown bean sprouts are often grown under controlled conditions to get that plump look.
Even under ideal conditions, homegrown mung bean sprouts tend to be thinner than the store-bought ones. However, by using a natural method for sprouting mung beans, you get a more tender, sweeter sprout that is far superior for a variety of recipes.
Jump to:
Quick Guide: How to Sprout Mung Beans
- Wash: Rinse ½ cup mung beans thoroughly.
- Soak: Cover with water and soak for 8-9 hours (overnight).
- Drain: Discard water and rinse the beans gently.
- Set up: Place beans in a moist cloth bundle or a colander covered with a damp towel.
- Rinse: Rinse and drain every 24 hours.
- Harvest: Ready in 2-4 days when sprouts are 1-2 cm long.
About Moong Beans
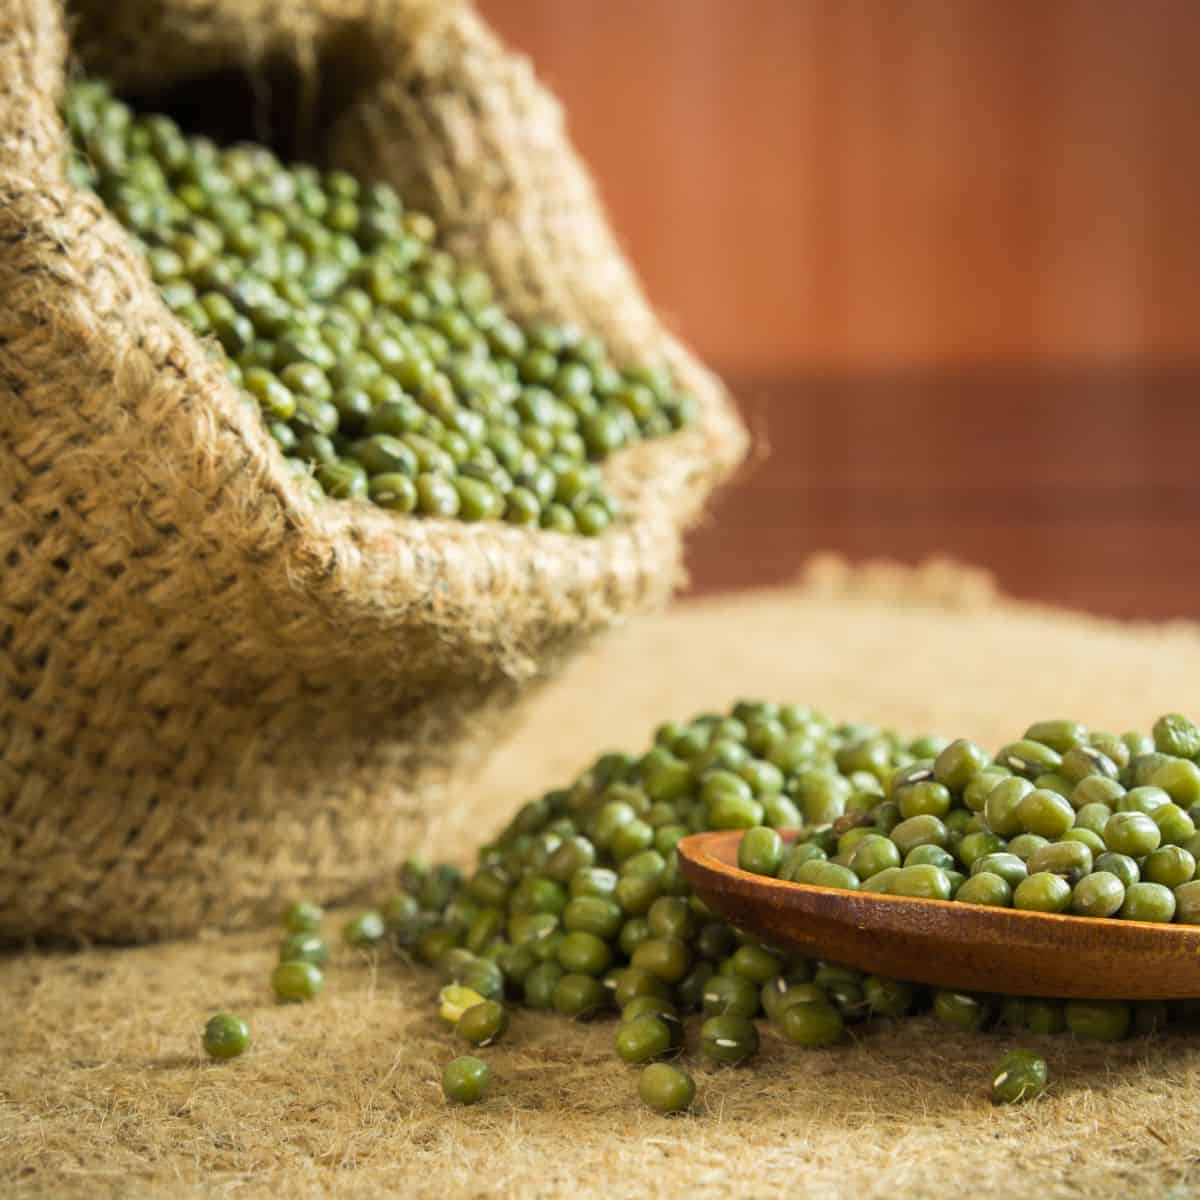
Mung beans (scientifically known as Vigna Radiata) have a rich history and have been a staple in Indian and Southeast Asian cultures for thousands of years.
They are deeply valued in Ayurveda, where both the whole green bean and the split yellow lentil (moong dal), which is the base for my kitchari recipe, are prized for being nourishing and easy on the system.
If you are curious to know more about beans and legumes, read my post on black beans vs. pinto beans.
Mung Bean Sprouts Benefits & Nutrition
Sprouting is the natural way a seed "wakes up," germinates, and begins transforming into a young shoot.
By soaking the seeds in water and then following a consistent routine of rinsing and draining, you trigger this growth at home.
This simple cycle doesn't just change the texture; it significantly improves both the flavor and the nutritional profile of the beans.
Are sprouted mung beans good for you? There are many health benefits of mung bean sprouts. They are low in calories and are a great source of plant-based protein. These little sprouts are also rich in antioxidants and essential micronutrients, including iron, calcium, and vitamins C and K. Read more about the benefits of eating mung bean sprouts.
The best part is their versatility. You can enjoy that fresh crunch by eating them raw, or you can toss them into stir-fries, soups, and rice dishes. Read more about sprouting.
Can you sprout other legumes?
Yes, you can sprout many different types of seeds and legumes. Mung beans are arguably the quickest and most beginner-friendly. Adzuki bean sprouts are another excellent choice for those just starting.
However, keep in mind that not all beans are the same; for instance, red kidney beans should not be eaten as raw sprouts.
What you need to grow mung bean sprouts
There are two easy ways to sprout your beans: using a cloth bundle or a colander.
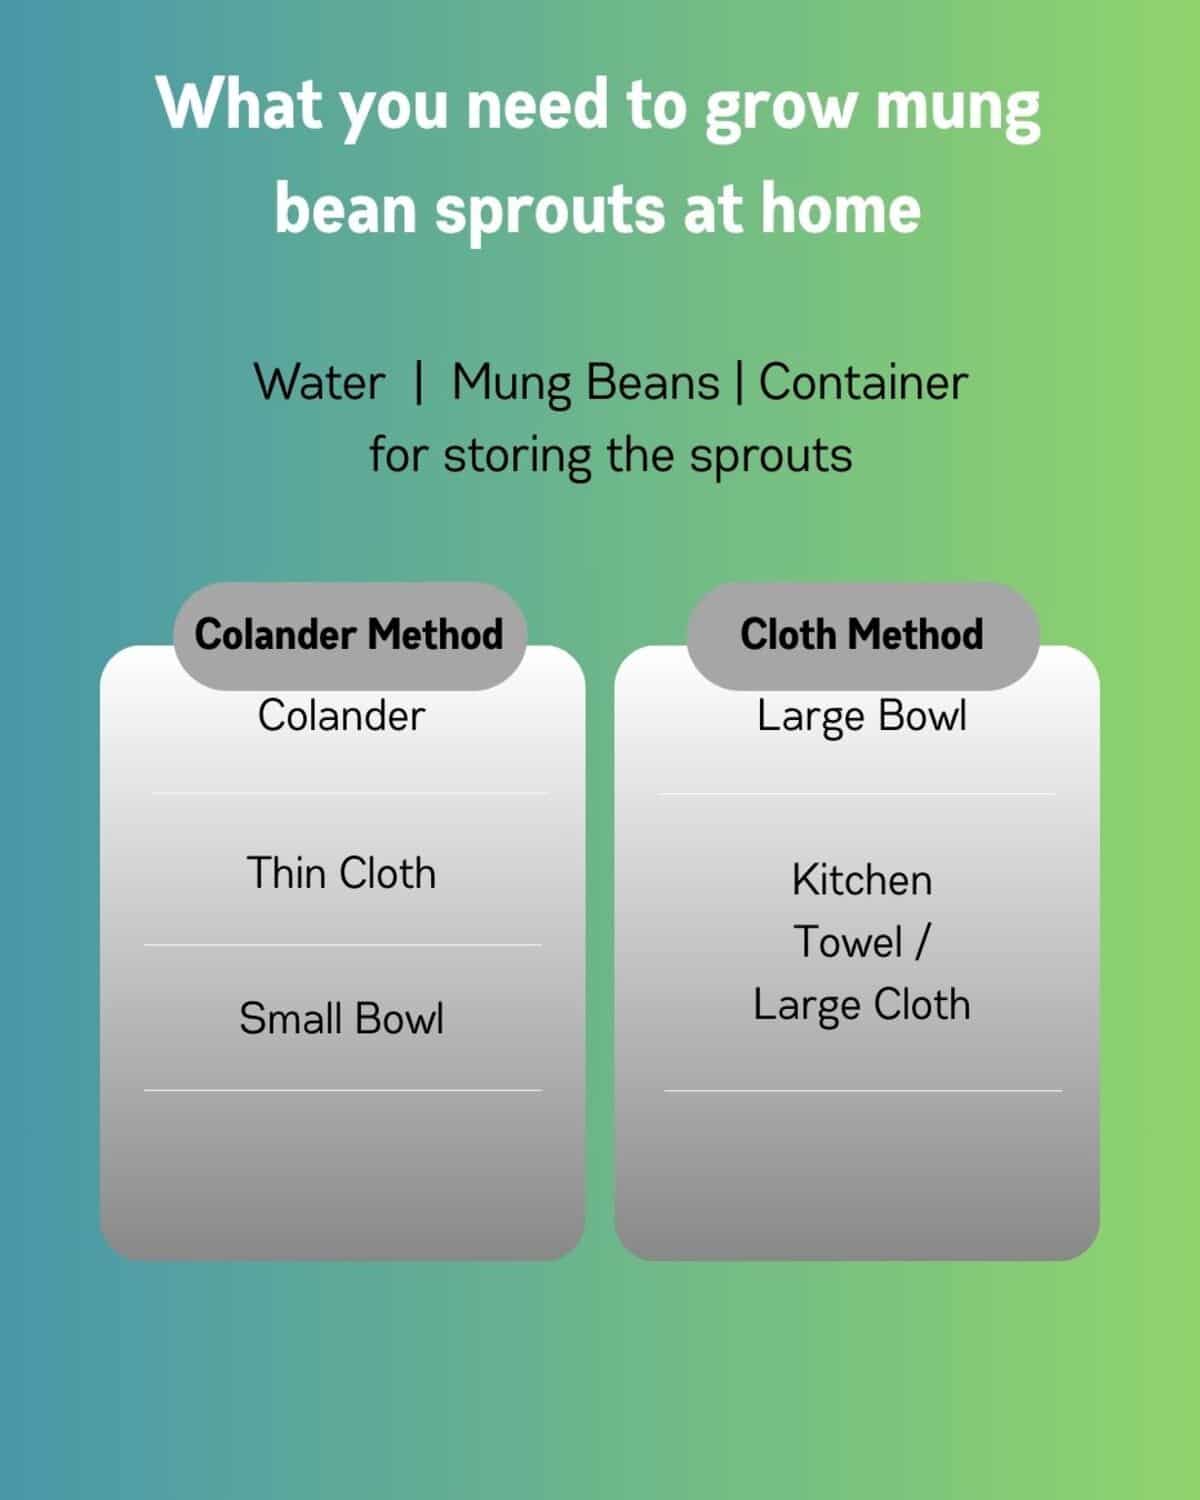
If you choose the colander method, you can use a muslin cloth as a liner if you'd like. For the cloth method, a simple kitchen towel works perfectly.
The goal is to keep the mung beans snug and moist while they sprout, while still providing enough airflow to keep them fresh.
You will also need a glass jar or box with a lid for storing the sprouts.
How do you sprout mung beans at home?
Growing mung bean sprouts at home is incredibly simple. Once you have the right supplies and a clear understanding of the process, you can enjoy a steady supply of nutritious, crunchy sprouts with minimal effort.
1. Wash and soak the mung beans
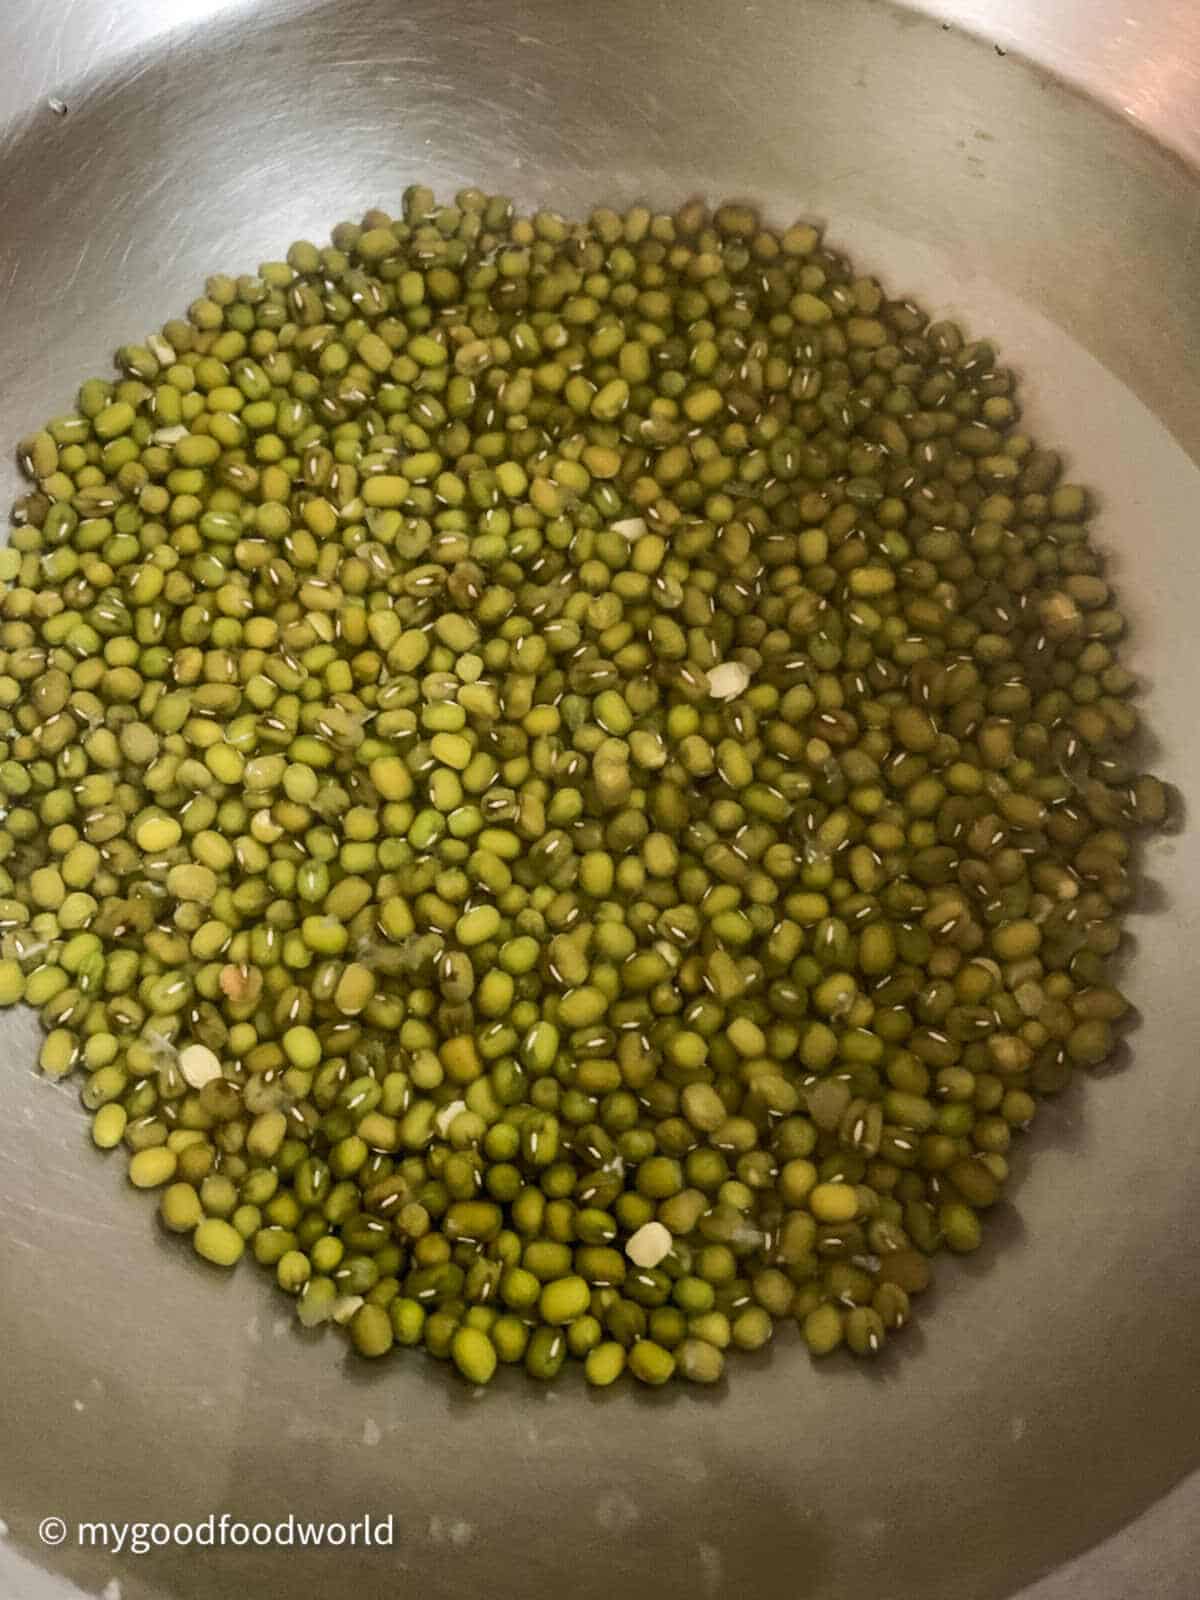
Soak: Place ½ cup of dried mung beans in a large bowl and wash them 1-2 times.
Quality check: As you rinse, you'll notice some beans floating. These are lower-quality beans that won't sprout properly, so go ahead and discard them.
Soak: Return the remaining beans to the bowl and pour in 3-4 cups of clean water. Soak them overnight (about 8-9 hours).
The beans will double in size, so make sure your bowl is large enough!
2. Prepare the environment
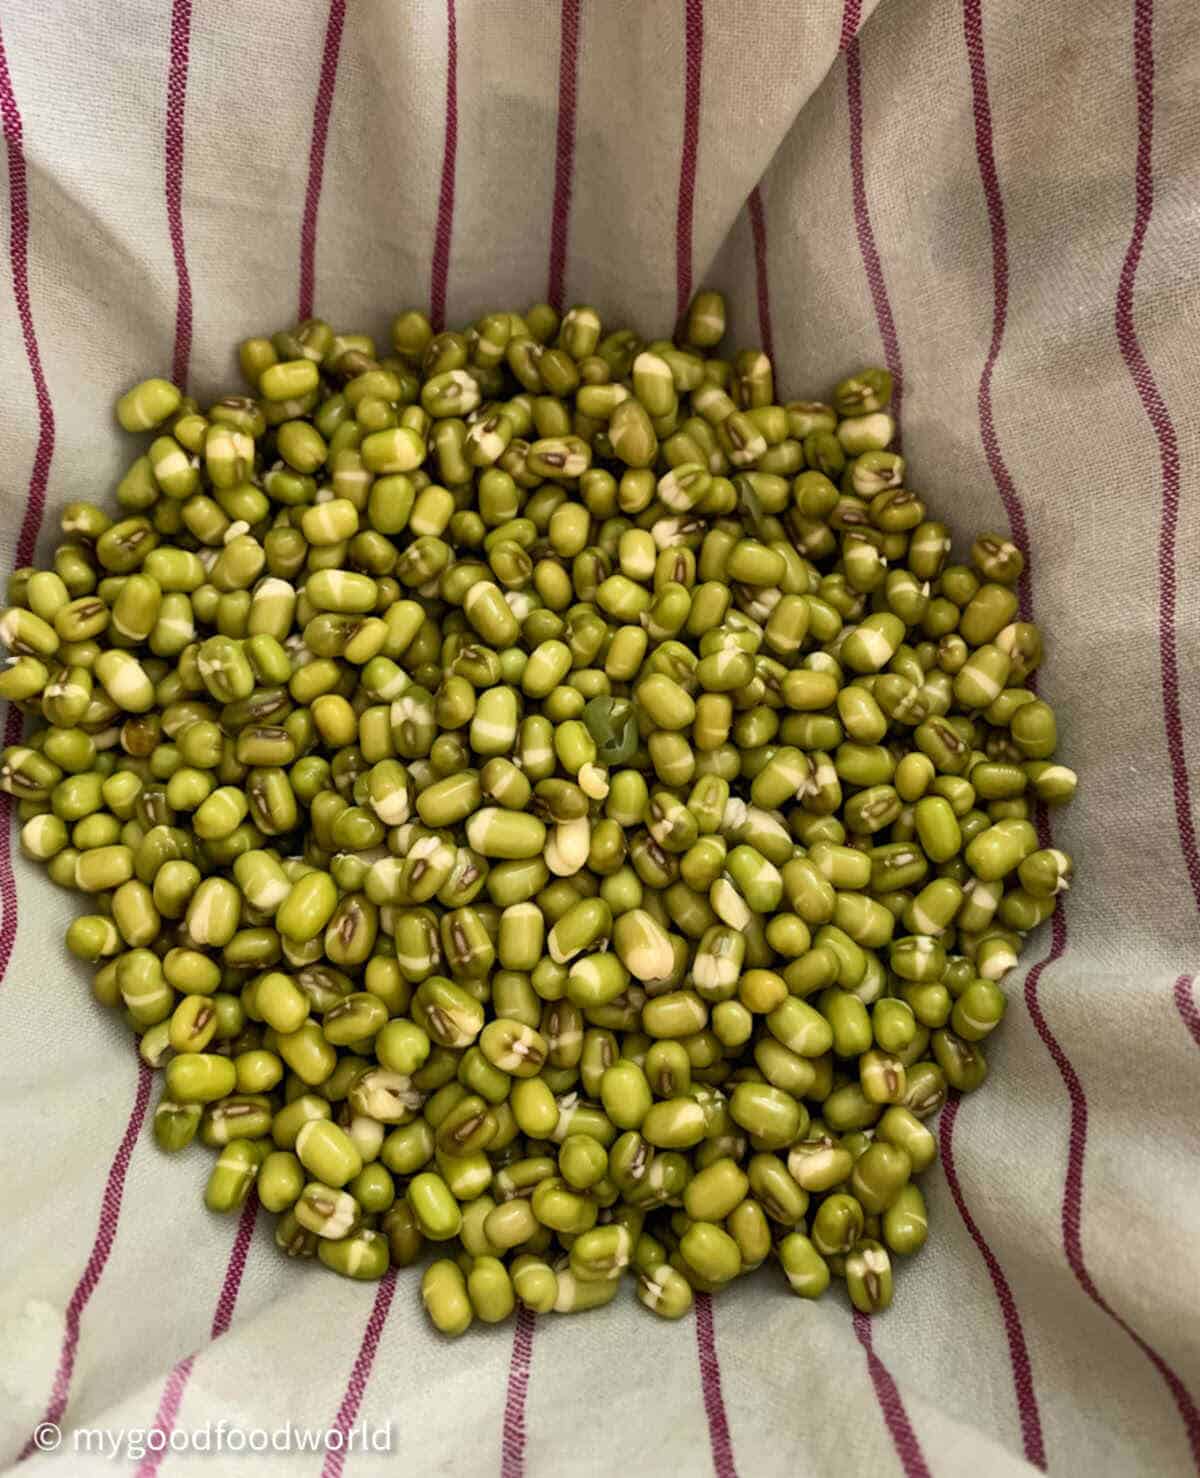
The next morning, discard the soaking water and rinse the beans a few more times.
Be gentle; at this stage, the beans are delicate and can break if handled roughly.
You'll notice the skins have cracked, revealing the white part of the legume: this is the sign they are ready to sprout. Pick out and discard any beans that haven't cracked.
Cloth method: Moisten a clean kitchen towel and drape it over a large bowl so that the ends hang over the sides.
Place the soaked beans in the center, wrap them into a snug bundle, and set the bundle back into the bowl.
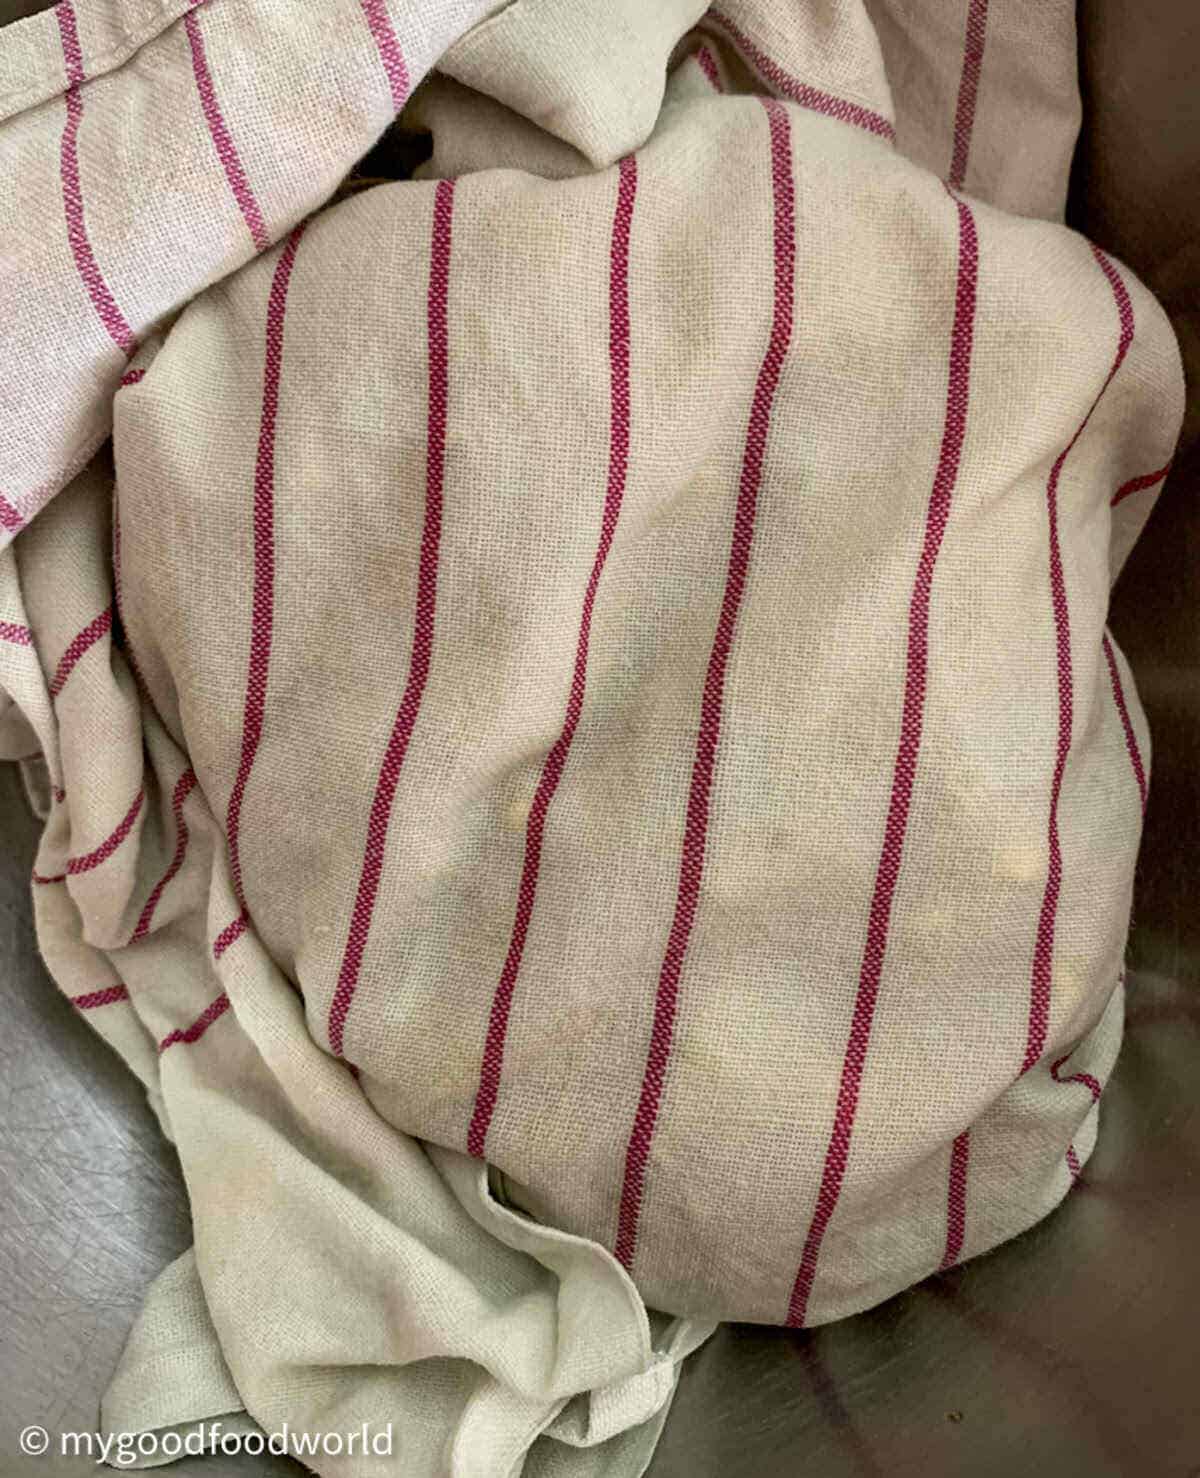
Colander method: Place the soaked mung beans directly into a colander and set the colander over a bowl to catch any drips. Cover the top with a thin, moist cloth.
The Golden Rule: Place your beans in a well-ventilated, dark, and dry spot away from direct sunlight. The warmest spot in your kitchen is usually best. Let them rest for 24 hours.
3. The Sprouting Process
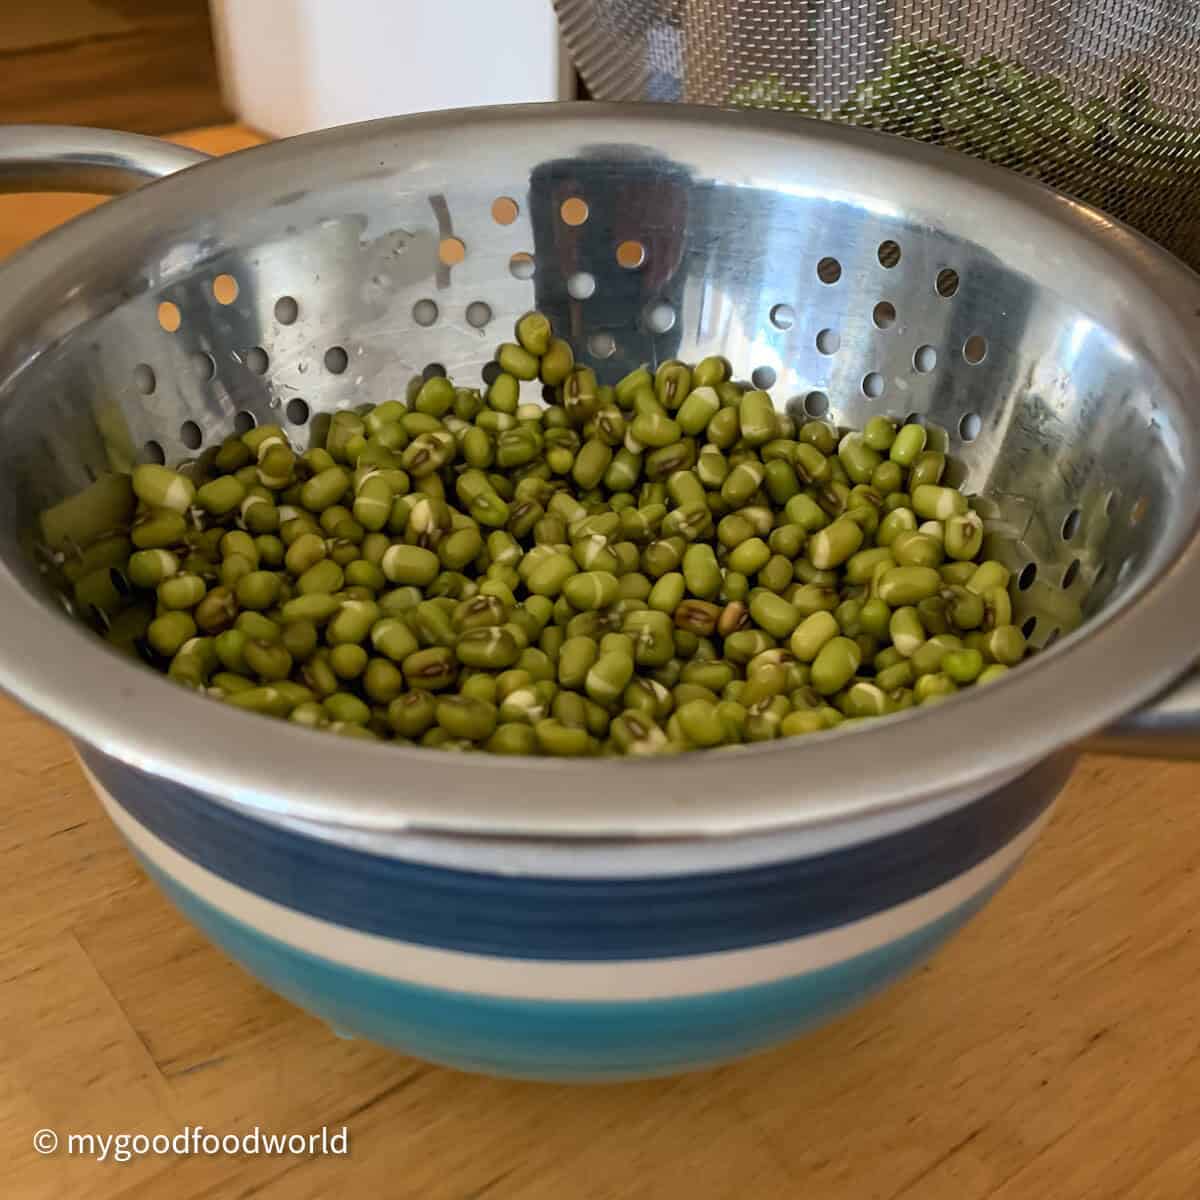
Day 1: After 24 hours, you'll see tiny sprouts appearing.
Gently move the beans from the cloth into a bowl, rinse, and drain. Return them to the cloth, wrap them back up, and place the bundle back in the bowl for another 24 hours.
(If using the colander, simply rinse them directly in the colander, drain thoroughly, and re-cover).
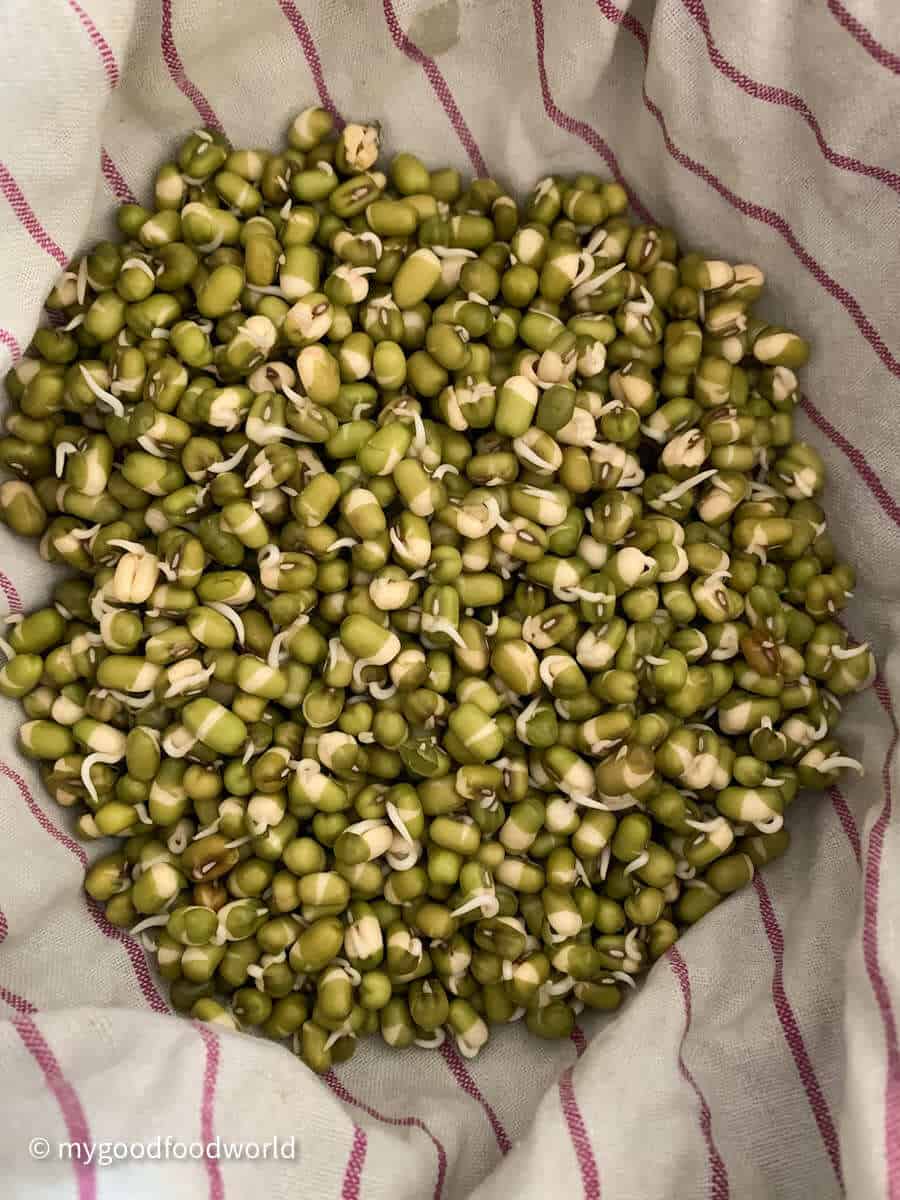
Day 2: By now, the sprouts should be growing noticeably longer.
Rinse them again as before.
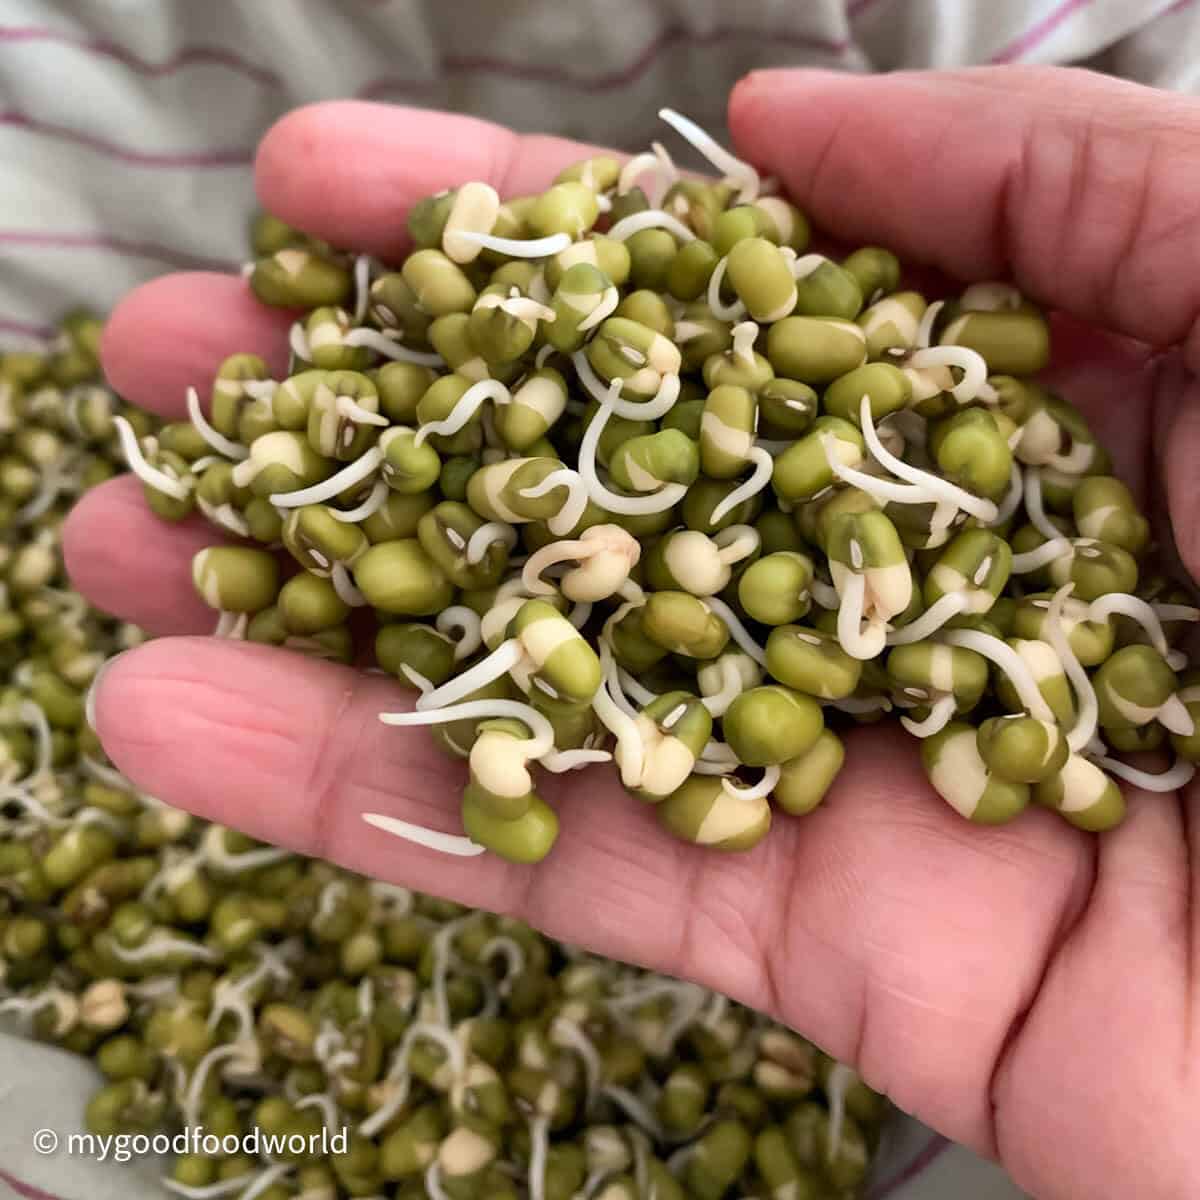
You are nearly there! Repeat the rinsing process daily until the sprouts are at least 2 centimeters long.
Depending on your local weather, this typically takes 3 to 4 days.
Give them one final rinse before using!
Tips for best mung bean sprouts
Rinse & sprinkle: For the best results, rinse your beans thoroughly every 24 hours. In between rinses, sprinkle the cloth with water every 12 hours (or as needed) to keep the environment humid.
Moist, not wet: Your sprouts need moisture, but they should never be "swimming". Always drain any excess water that collects at the bottom of your bowl or colander, as standing water can lead to mold and rot.
Pro tip for thick sprouts: Covering the mung beans is key to luscious sprouts. For growing thicker sprouts, place a heavy object (like a sauté pan or cast-iron skillet) on the bundle or cloth. This physical resistance mimics the sprouts pushing through the soil, forcing the sprouts to grow thicker and straighter.
Give them space: Sprouting beans need room to breathe and grow. Ensure your container is large enough to accommodate the beans as they double (or triple) in volume.
Keep them in the dark: Always keep your sprouts away from direct sunlight. Sunlight doesn't just make them bitter; it causes the beans to dry out too quickly, resulting in tough, poor-quality sprouts. A warm, tucked-away corner of the counter is ideal.
Avoid fine mesh: Do not use a container with a very fine mesh (like a tea sieve). The growing shoots can get stuck in the tiny holes and break when you try to remove them.
The "hull removal" trick: Once harvested, you can remove the green skins (hulls) for a cleaner look. Simply swish the sprouts in a large bowl of water; the hulls will float to the surface. Skim them off.
Sprouting in different climates
How to sprout mung beans in winter? During colder months, your beans may take an extra day or two to sprout. You can help them along by soaking them in lukewarm water or placing the container in the warmest spot in your home, such as inside a cold oven (with the light on), next to the fridge, or even in an Instant Pot on the "yogurt" setting.
In hot/humid weather: Your sprouts will grow much faster! Be sure to rinse them more frequently to keep them fresh and prevent any unpleasant smells.
Recipe Notes
Yield: Expect a 1:2 ratio. Typically, dried mung beans will double in weight once sprouted. For example, 2.5oz (70g) of dried beans will yield roughly 5oz (150g) of sprouts.
Alternative equipment: If you don't have a colander or cloth, you can use:
- A bamboo steamer or regular steamer basket.
- Thick paper towels (instead of a cloth).
- A mason jar (keep the lid partially open or use a sprouting lid for ventilation).
- A flat tray (keep it covered to maintain darkness).
Storing & Consuming your bean sprouts
To keep your sprouts fresh and crunchy, proper storage is key.
Dry thoroughly: After your final rinse, drain the sprouts well and spread them in a thin layer on a clean kitchen towel. Allow them to air-dry completely. Removing excess moisture is the secret to making them last longer.
The paper towel method: Line a fridge-safe, airtight container with dry paper towels. Place the sprouts inside and seal the lid. The paper towel will absorb any lingering moisture, preventing the sprouts from becoming slimy.
How long will they last?
Sprouted mung beans can stay good in the fridge for up to a week or 10 days. They are at their peak freshness and crunch within the first 2-3 days. After that, they may start to lose their sweetness.
Can sprouted mung beans be frozen?
Yes, sprouted mung beans can be frozen, but keep in mind that they will lose their signature "crunch" and juiciness once thawed.
How to eat mung bean sprouts: You can enjoy fresh, homegrown mung sprouts by tossing them into a salad, stir-fries, or noodle bowls, or using them as a crunchy topping for your favorite soups.
Best use for frozen sprouts: Since they become soft after freezing, don't use them in salads. Instead, make a mung bean soup or my favorite mung bean curry where the texture change won't be as noticeable!
FAQs
You will see tiny sprouts (tails) within 24 hours of soaking. However, for crunchy, full-sized bean sprouts, it typically takes 3 to 4 days. The exact timing depends on the warmth of your kitchen and how long you prefer the shoots to grow.
No, you cannot sprout mung beans in the fridge.
The fridge is too cold for the germination process to happen. Mung beans need room temperature to germinate. If you put them in the fridge during the sprouting phase, they will simply go dormant and stop growing altogether.
Mung bean sprouts can taste bitter if they are exposed to too much light. Mung beans should be grown in a dark, well-ventilated place.
Bitterness could happen if they are allowed to grow for too long. If you see small green leaves starting to form, the sprouts are maturing and will lose their natural sweetness.
For the best flavor, harvest them when they are about 2 centimeters long.
To grow sprouts safely, always start with clean, food-grade seeds and ensure your hands and equipment are thoroughly washed. Healthy sprouts should smell fresh and slightly nutty. If they ever develop a sour or "off" odor, feel slimy to the touch, or show signs of dark, fuzzy mold, discard the batch and start over.
Made this recipe? I'd love to know what you think! Leave a ★★★★★ rating and a review below-it motivates me to create more great content for you. You can also connect with me on Facebook and Instagram. And don't forget to subscribe to my newsletter, where I share free recipes, tips, and more!
📖 Recipe
How to Sprout Mung Beans at Home: A Step-by-Step Guide
Save This Recipe
Enter your email & I'll send it to your inbox.
By submitting this form, you consent to receive emails from MyGoodFoodWorld
Ingredients
Equipment
Instructions
- Place the mung beans in a large bowl and rinse them 1-2 times. Drain and keep them aside.The beans that are not of good quality will float up in the water. They will not sprout properly. Discard them.½ cup (~70 grams) green mung beans
- Place the beans back in the large bowl, pour the water, and soak them overnight (8-9 hours). The beans will double in size and so plan your bowl size accordingly.3-4 cups drinking water
- The next morning, discard the water in which the beans were soaking and wash them a couple of times. Use gentle hands. At this stage, the beans are delicate and will break if handled roughly. You will notice that the mung beans have cracked, showing the white part of the legume. This is a sign that they are ready to sprout. Pick out any beans that have not sprouted and discard them.
- There are two ways in which you can sprout the beans.1) In a thin cloth towel or a muslin cloth2) In a colander over a small bowl and cover with a moist cloth.
- Cloth method: Moisten the cloth and place it in the large bowl (the ends should hang out of the bowl comfortably) and place the mung beans on it. Wrap the towel/cloth in a snug bundle and place it back in the bowl. Place the bowl in a well-ventilated, dark, and dry place, away from direct sunlight and in the warmest spot in your kitchen. Let them be for 24 hours.
- Colander method: Place the mung beans in a colander and place the colander over a bowl. Cover with a thin, moist cloth.Place the colander in a well-ventilated, dark, and dry place, away from direct sunlight, and in the warmest spot in your kitchen. Let them be for 24 hours.
- Day 1: After 24 hours, (you will see that the beans have tiny sprouts) gently tip them from the cloth into a bowl, rinse gently, and drain them. Place them back in the cloth, wrap them, and place the bundle in the bowl. Let them be for another 24 hours. If sprouting in a colander, rinse the mung beans directly in the colander (be gentle), drain the water completely, and place the colander back over the bowl. Cover with a moist cloth and keep it aside for another 24 hours.
- Day 2: The sprouts will get going and would have grown longer 🙂. Rinse them in the same way as before and keep them aside for another 24 hours. This time, place a heavy object (such as a skillet/saute pan) on the bundle (or in the case of a colander, on the moist cloth). This encourages the shoots to grow thick and straight.
- Repeat the above process till the sprouts have grown at least 2 centimeters in length. Depending on where you live and the weather conditions, this will take 3 or 4 days.
- Rinse the mung bean sprouts once again before using them.
- If storing them for later, drain the water completely and let them dry a bit. Line a glass container or jar with paper towels. Close the lid and store them in the fridge.
Nutrition
The nutritional information is calculated using an online calculator and is based on available ingredients and preparation. It should not be considered a substitute for a professional nutritionists' advice. Changing the quantities and cooking technique will alter the nutritional calculations.
Notes
Alternative quantities provided in the recipe card are for 1x only.
Our content aims to be informative and educational, but it should not replace professional medical advice. Since manufacturing processes can vary and cross-contamination is possible, it's essential to verify product labels and allergen information. Make sure all ingredients align with your specific allergies. As readers, you bear the responsibility for ensuring allergen safety when buying or consuming foods.


Nataliya says
Thank you for really good advice, how to grow sprouts thicker. I always end up with thinner stems than store bought bean sprouts. Appreciate very much, thanks again.
Padma Kumar says
So glad that you found this helpful. Happy sprouting!
Francoise says
Bonjour, les miens sont toujours fins et longs, je pense que je n'en referai plus !!! Les germes du magasin sont beaucoup plus épais.
Padma Kumar says
Hi there! Sorry to hear that your sprouts are always coming out thin and long. "Thick" can be a bit relative. It often depends on the quality and variety of the mung beans you’re using. Even under ideal conditions, homegrown mung bean sprouts tend to be thinner than the store-bought ones, which are usually grown under very controlled conditions to get that plump look. If you’re after thicker sprouts, you might have better luck with other legumes like chickpeas or adzuki beans, which naturally sprout a bit chunkier. Feel free to share how it goes if you try a different method or seed!
Sharon says
This is such a cool activity to try!
Sonja says
Thank you for all the information! Maybe this time I'll succeed!
Padma Kumar says
I hope it works out for you Sonja.
Alexandra says
Wow, thank you so much for this detailed and informative post. I have never tried to grow my own mung bean sprouts before, but I will be giving it a try in the new year. (It will be Summer here, so the warmer weather should help encourage them too.) Thanks again!
Nora says
So informative! Love your post! Never thought of growing them!
Jacqueline Debono says
My mung bean sprouts are growing and I'm really happy! Can't wait to use them!
Gloria says
Thanks for the great info. I have always wanted to try this. I think doing it at home is much healthier than buying these in the grocery store.
Andréa says
I never thought of growing mung beans myself. But with these great tips, I should be able to, I'm sure. Thank you for the inspiration.
Erin says
Love this idea of how to grow thick mung bean sprouts! I didn't know this could be done, but it worked so well. Thank you for sharing all of the great tips.
Padma Kumar says
So glad that you found it useful Erin.
Fransic verso says
Very cool and informative! I've never done something like this before but seems easy to do it. Thank you for sharing it!
Padma Kumar says
It is indeed very easy! Hope you can try it soon.