Learning how to make ginger garlic paste is such a game-changer, especially if you've been struggling with funky-smelling store-bought versions. Homemade garlic and ginger paste is natural, budget-friendly, and far more aromatic. How good is that?!
Save This Recipe
Enter your email & I'll send it to your inbox.
By submitting this form, you consent to receive emails from MyGoodFoodWorld
Garlic & ginger paste is often called gg paste (cute, right?!), and I'll be using that term throughout this post, just so you know.
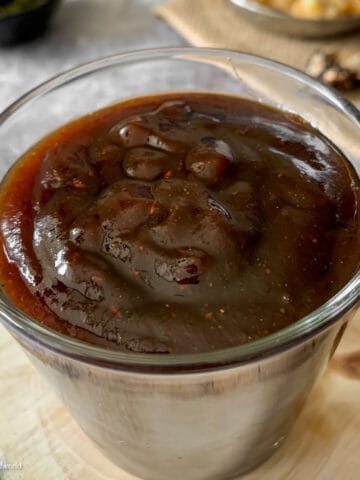
I've never been a fan of store-bought pastes and sauces. From making my own tamarind paste to garlic chili oil, I prefer keeping it all in-house for the best taste and freshness.
Why you'll love my gg paste recipe:
- Quick and easy: It comes together in just 10 minutes.
- Stores well: It stays fresh for weeks in the fridge and freezes beautifully. A great staple for your meal prep routine.
- 100% natural: There are no chemicals, no nasties.
Stick around to learn about the different ratios that can help you decide what works best for you. I'll also share my time-tested tips to prevent that odd green color.
Once you learn how to make ginger garlic paste at home, you'll be ready to try it in my rajma recipe, Asian noodle soup, and more.
This post includes helpful tips, but if you're in a hurry, use the "Jump to Recipe" or section links to skip ahead.
Jump to:
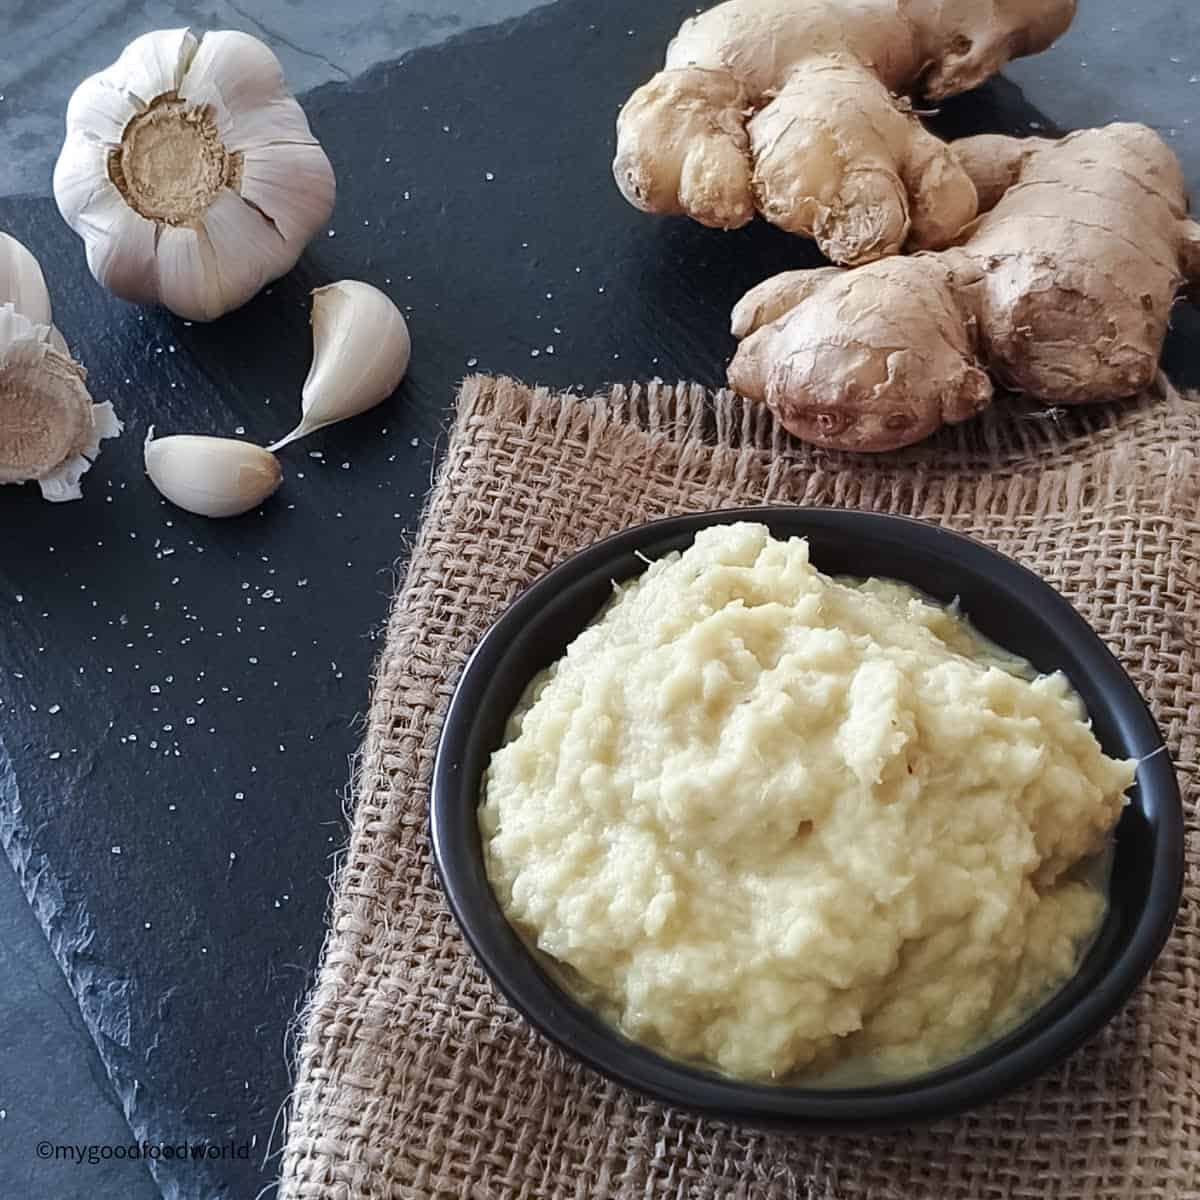
What is ginger garlic paste?
If you love Indian or Asian cooking, having a jar of ginger garlic paste in your kitchen is a must. Like my curry powder substitute and tamarind sauce, it's a versatile staple that can take a dish from ordinary to sublime!
It is made with fresh ginger, garlic cloves, salt, oil, and a little water. No preservatives. Nothing unnecessary.
The science bit: Oil acts as a natural preservative, while salt helps preserve and also acts as an abrasive, making the paste smoother.
Together, oil and salt help the paste stay fresh longer and prevent that bluish-green discoloration (more on that in a bit).
Water simply helps with blending. You can skip it.
Ginger Garlic Paste Ratio
While the ratio of garlic to ginger is entirely up to your preference, here are some commonly used options:
Standard ratio: 50:50 (1:1)
Equal parts ginger and garlic by weight. Great for everyday Indian cooking. For example, 50g of ginger and 50g of garlic.
Chef's ratio: 60:30 (2:1)
Twice the amount of garlic to ginger. For example, 60g of garlic and 30g of ginger. Ideal for bold, rich dishes like biryani.
Garlic lovers' ratio: 70:30
Perfect if you really enjoy the flavor of garlic.
My ratio: 60:40
A slightly ginger-forward blend that I love.
The best approach is to experiment. If you prefer garlic, increase it. If you enjoy ginger more, lean that way. Try a few small batches first. Once you find your favorite, make a larger batch.
If garlic is not your friend, simply make ginger paste and use that instead.
Ingredients
You only need 5 ingredients. Check the recipe card for exact quantities.
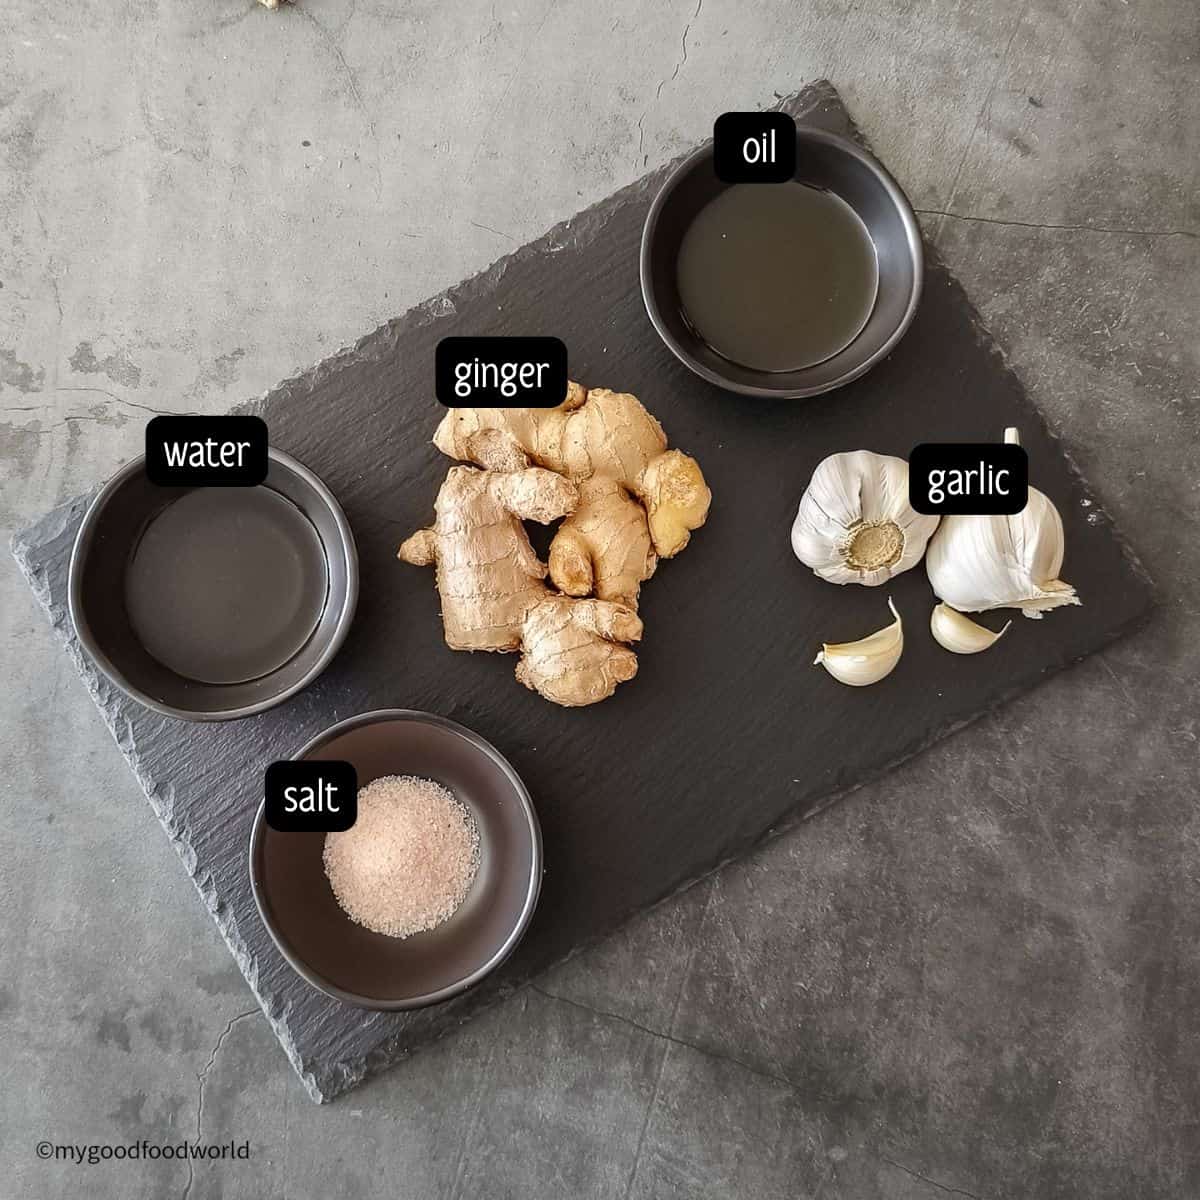
Oil: Use a neutral oil. Strong-flavored oils like peanut or olive oil can change the taste of your dish.
Ginger: Use fresh, firm, juicy ginger. Avoid frozen ginger.
Garlic: Fresh garlic works best. Larger cloves are easier to peel.
Salt: Regular cooking salt is perfect.
Water: Just enough to help blend smoothly.
Equipment: Use a high-speed blender or food processor for best results and to help prevent discoloration. A mortar and pestle works too.
Instructions (Step-by-Step)
Learning how to make ginger and garlic paste will make cooking so much easier. No more peeling and pounding on busy weeknights.
Add this to your weekly meal prep routine, and it'll feel like you've got a little kitchen shortcut ready to go.
See the recipe card for full details and video.
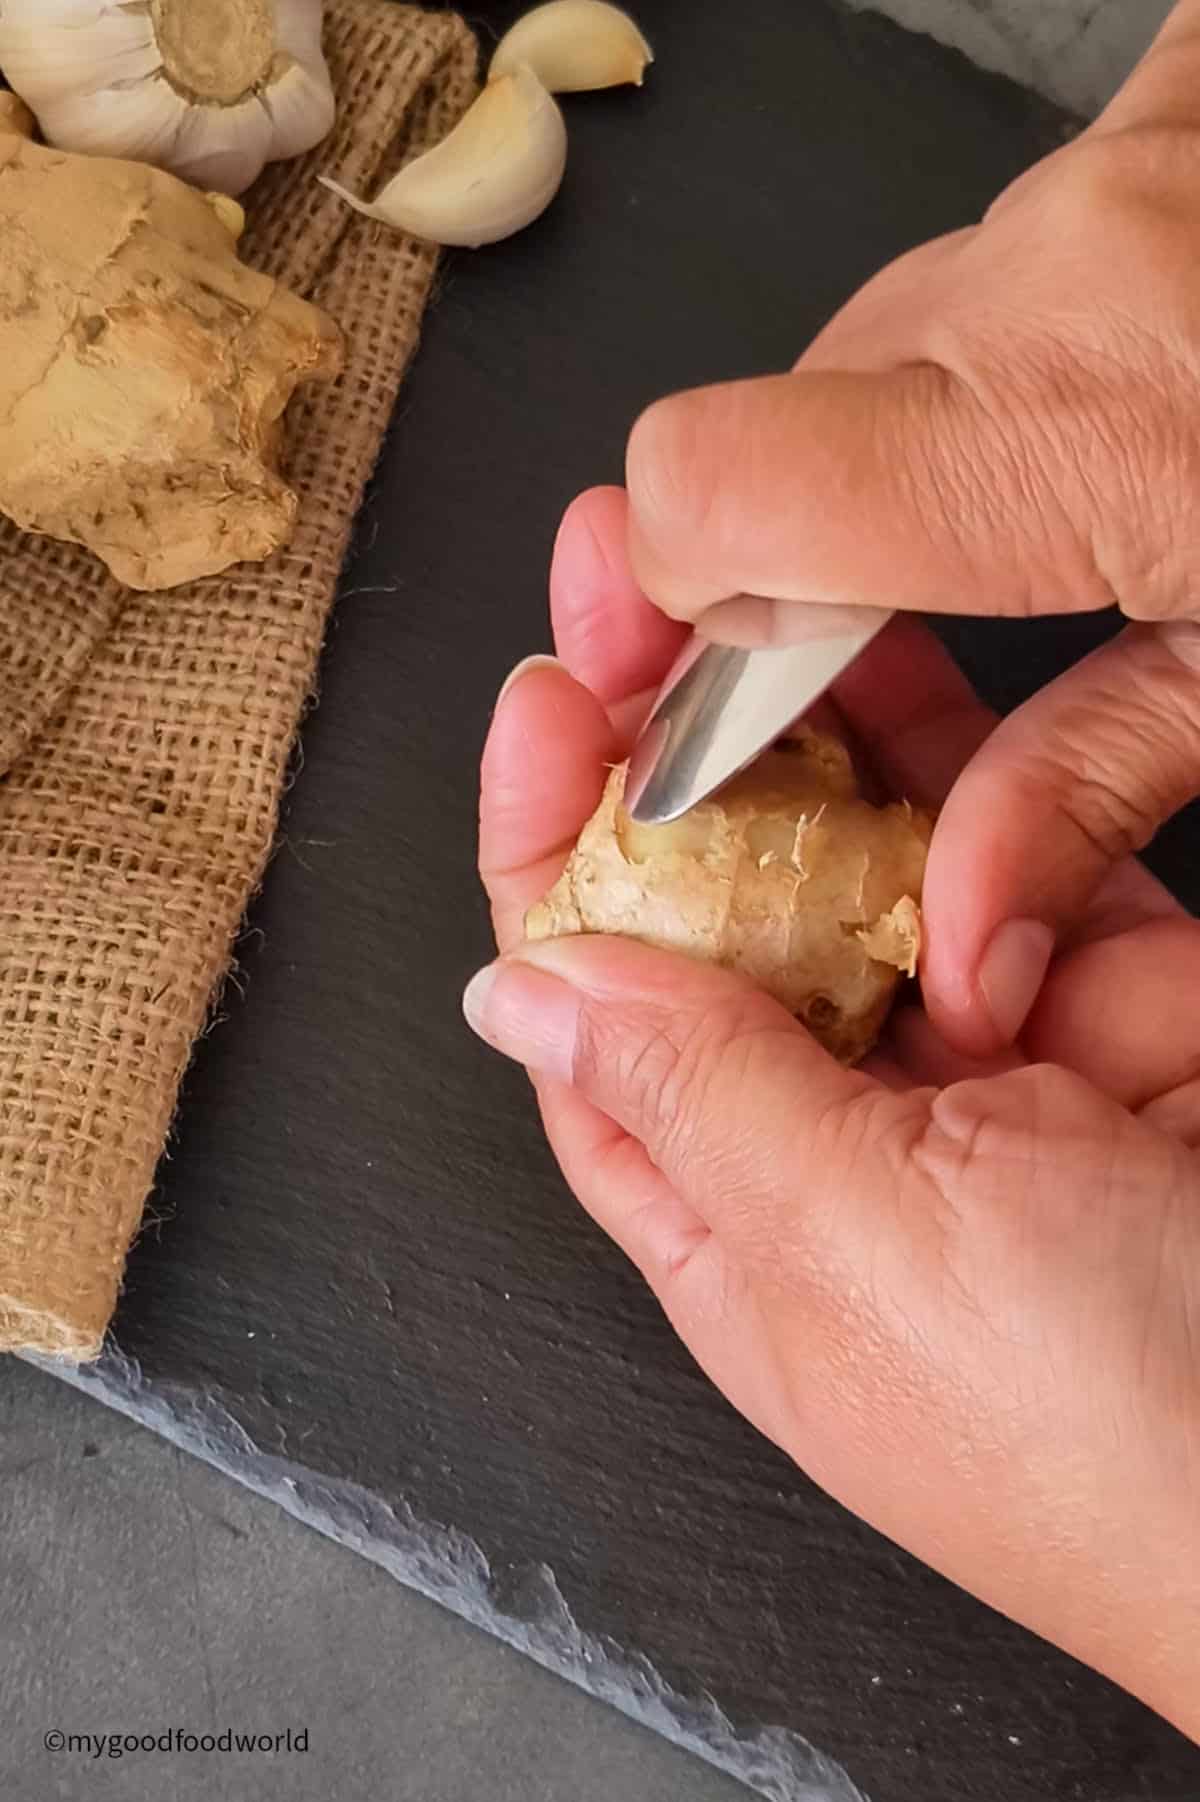
- Wash and peel the ginger
Use the back of a spoon to peel the ginger. Pat dry well.
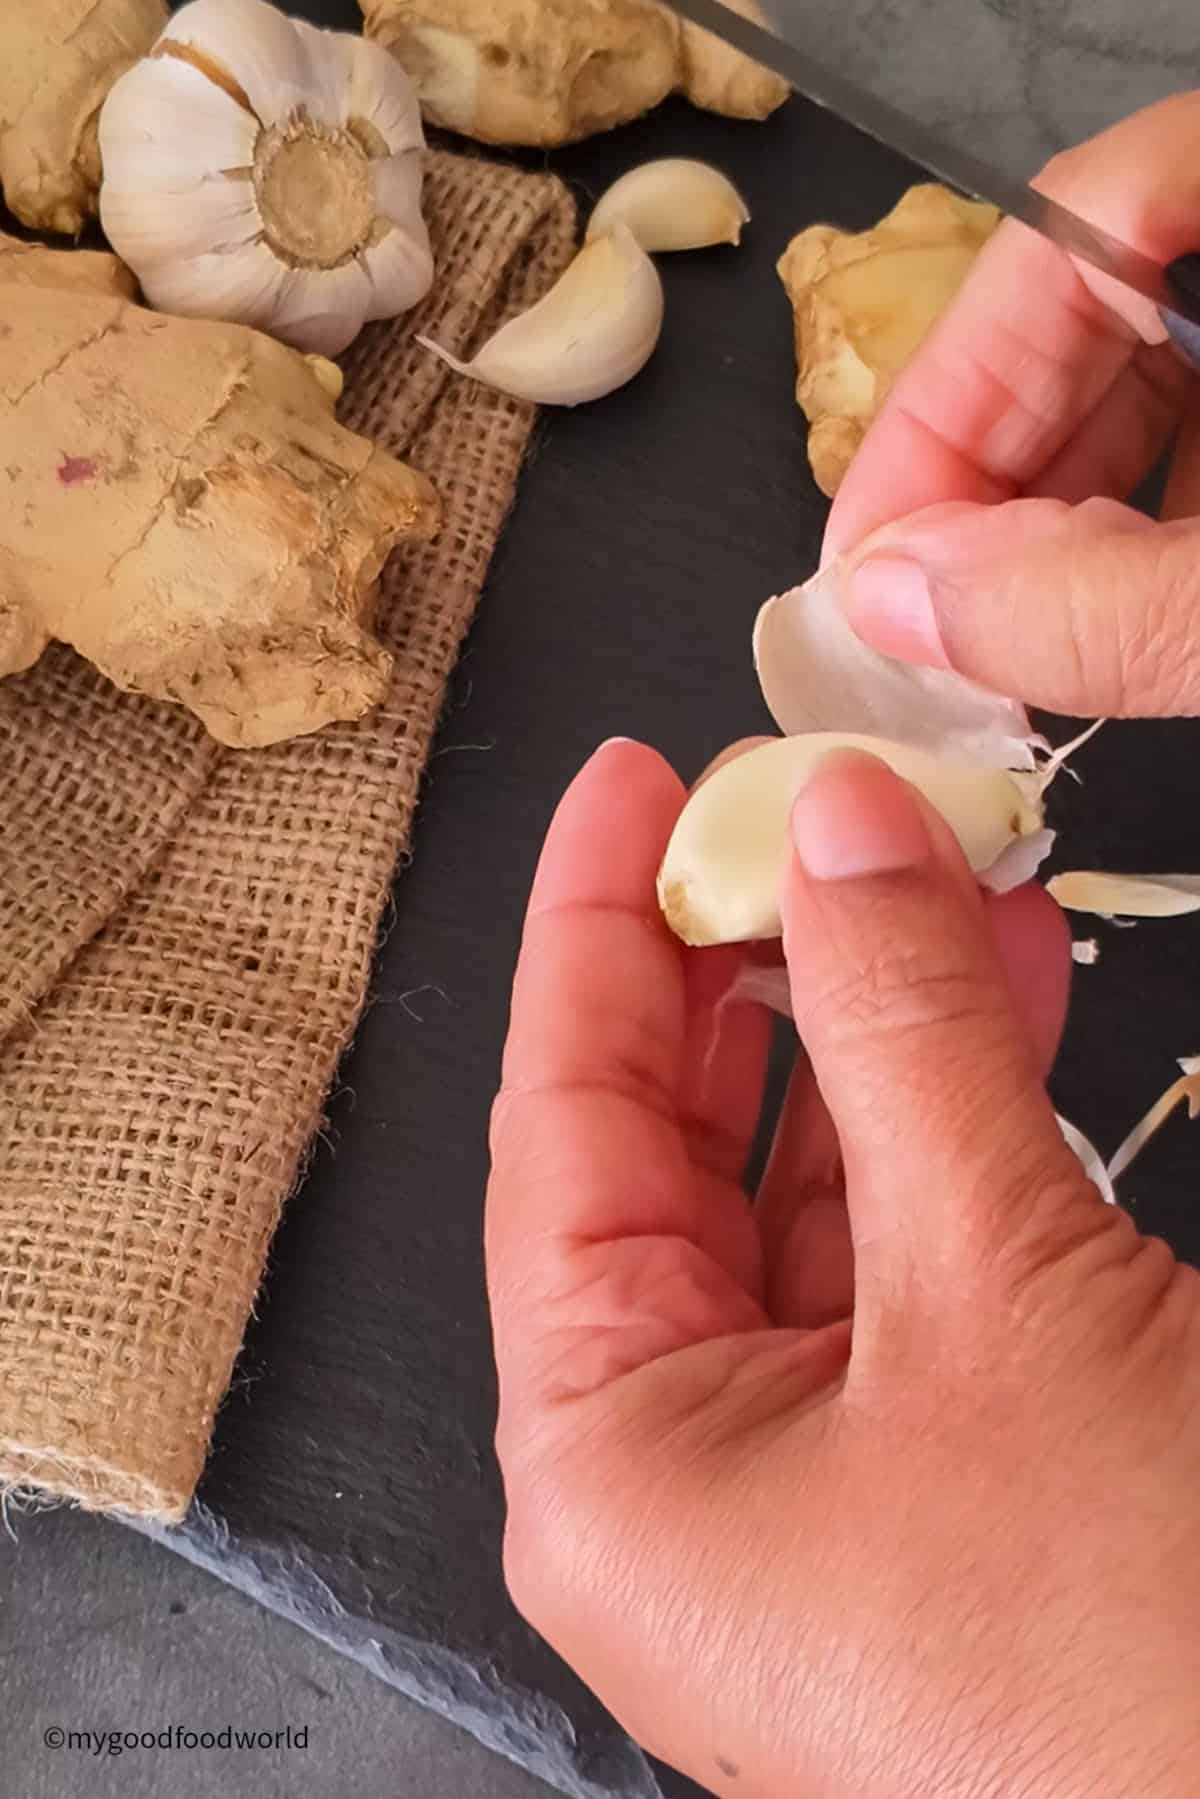
- Peel the garlic
Large garlic cloves are easier to peel!
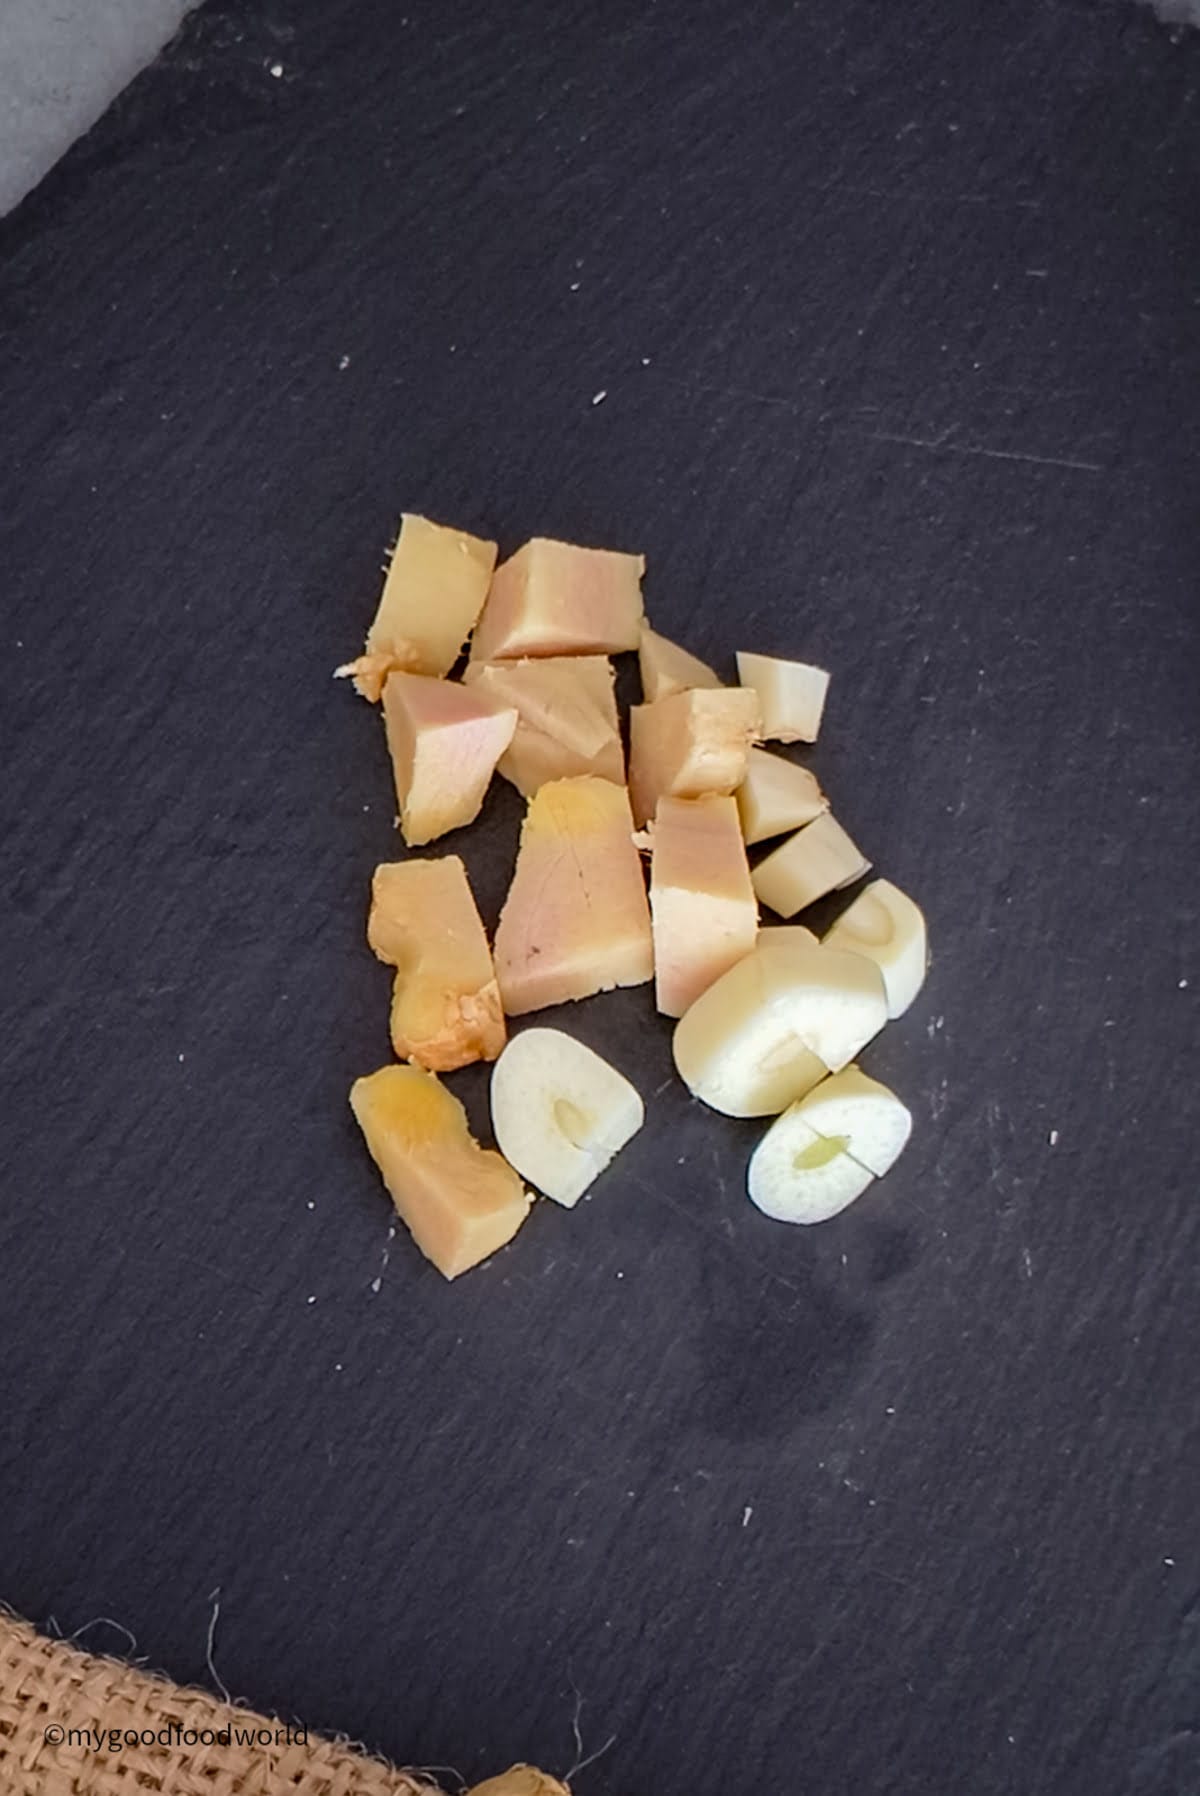
- Chop the ginger and garlic
For easy grinding, chop them into small pieces.
- Blend
Add all the ingredients and blend until smooth.
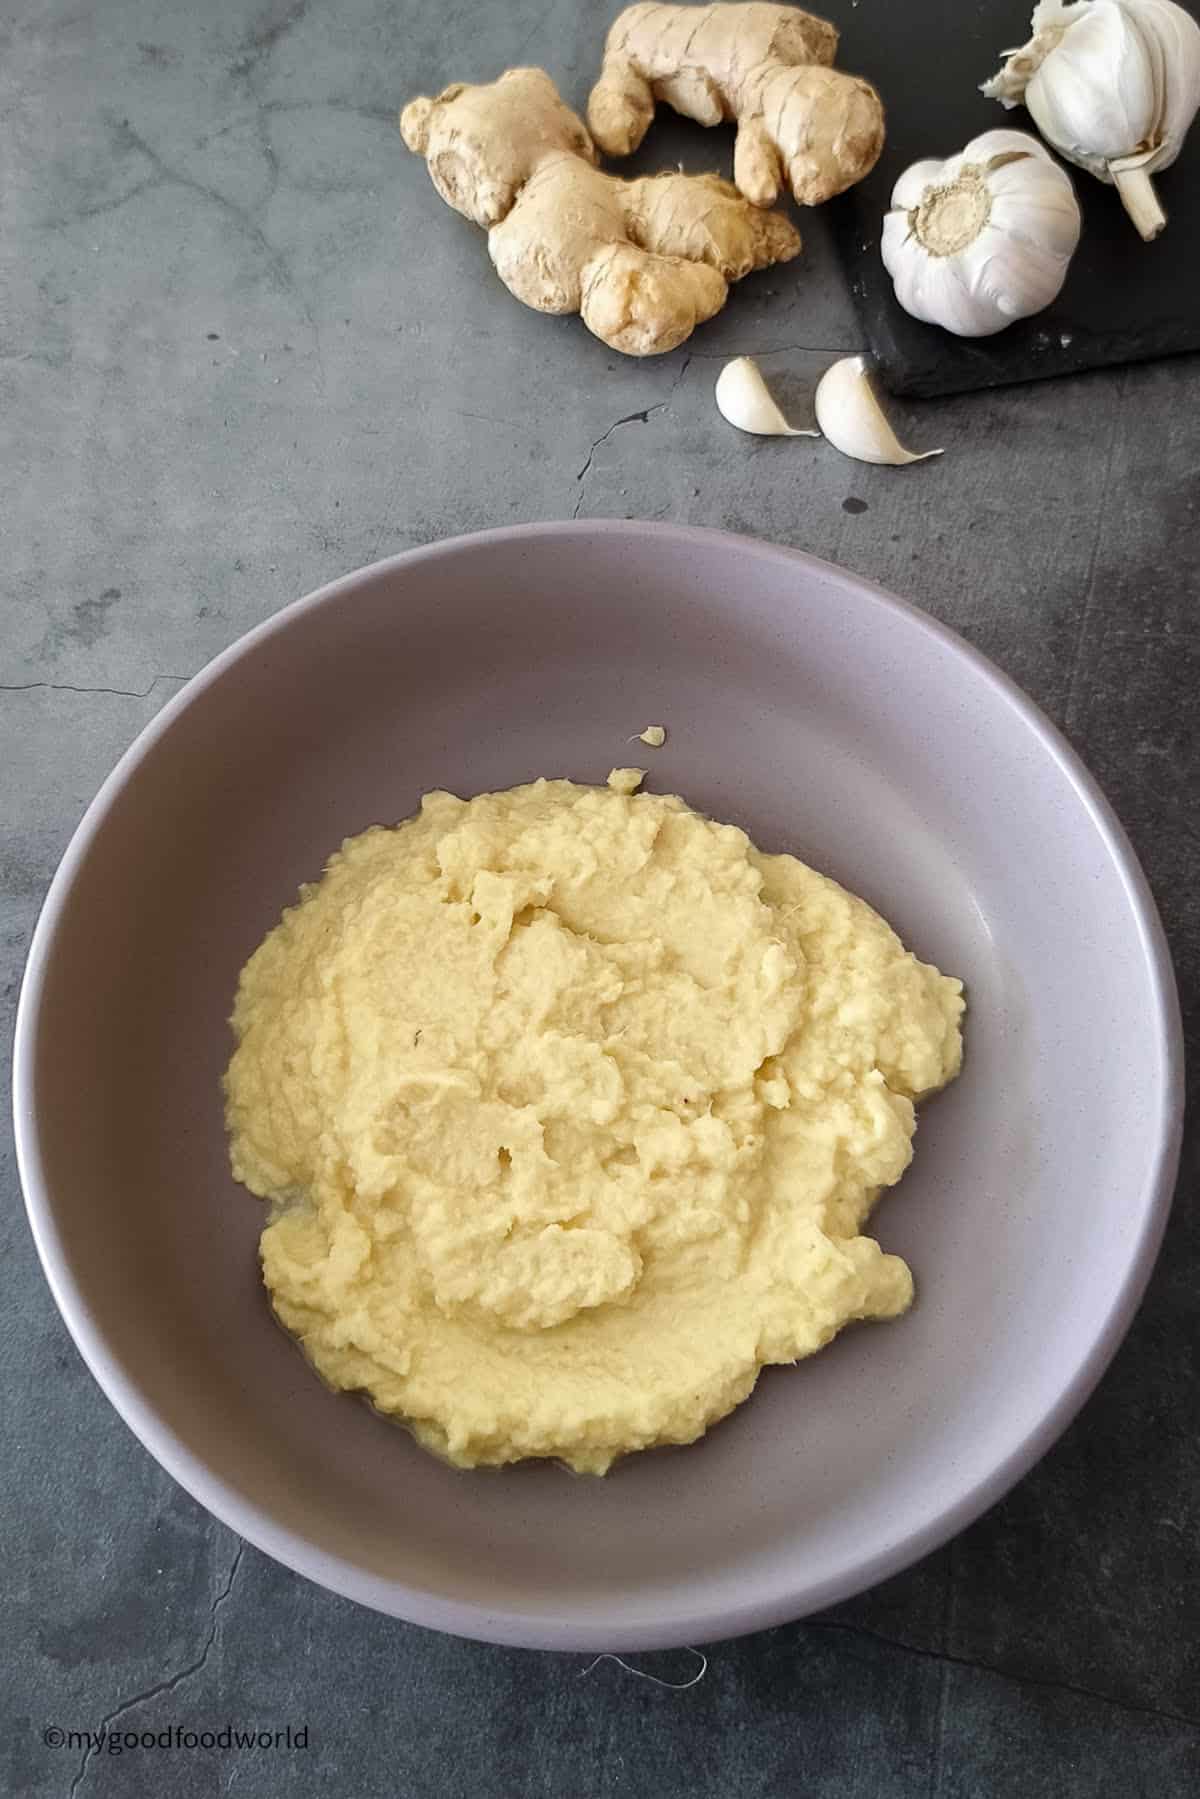
And that's it, your beautiful, ivory-colored paste is ready for you to add to bhindi masala and other dishes.
Check the section below to learn how to use it in recipes and also when to add it while cooking.
Recipe Notes
Yield: These measurements will yield approximately ½ cup (~125g) of paste.
To peel or not peel the ginger? I peel the ginger. Scraping with a spoon works best. You can keep the peel, if you prefer.
How to make ginger garlic paste without a blender
Use a mortar and pestle.
- Add the chopped ginger, garlic, and salt. Pound until crushed.
- Add a splash of water, if needed, to help grind to a smooth paste.
- Mix the oil at the end.
Why does ginger garlic paste turn green?
Ideally, the paste should be ivory-colored and smell fresh. Sometimes, it turns green or bluish-green due to a natural reaction between sulfur in garlic and enzymes.
Here's how to prevent it:
- Use enough of the oil and salt.
- Blend in a high-speed blender.
- Avoid adding too much water.
- Refrigerate as soon as it cools.
- Always use a clean, dry spoon.
If it does turn green, don't panic. It's still safe to use.
How to use ginger garlic paste
A staple in North Indian dishes like baingan bharta, this paste also works beautifully in non-Indian recipes such as potato pasta and spicy couscous.
- General guideline: For a dish serving 4, use about 2 teaspoons.
- If a recipe calls for chopped ginger and garlic, you can swap in the paste instead.
When to add ginger & garlic paste while cooking?
For the best flavor, add it at the beginning of cooking. Cook it until the raw smell disappears.
Storage
Homemade gg paste will last you weeks, so go ahead and make a big batch!
In the fridge: Let the paste cool completely, then store it in a clean, dry glass jar with a tight lid. It keeps for up to 4 weeks.
In the freezer: Freeze in containers or bags for 4 to 6 months.
Time-saving tip: Place 2-teaspoon portions in silicone ice cube trays. Once frozen, remove from the trays and store the cubes in a freezer-safe bag for 4 to 6 months. Add one or more cubes as needed for the recipe, straight from frozen.
FAQs
You can tell if the ginger garlic paste is bad if you see mold, notice a slimy texture, or smell something off. Discard it. Fresh paste should smell clean and look ivory-colored.
Yes, you can make ginger garlic paste without peeling the ginger. The color will be slightly darker, but that's fine. Just wash and dry it well.
To preserve it for a long time, make sure you store ginger garlic paste in a clean, dry jar with a tight lid. Always use a clean spoon and place the bottle back in the fridge immediately. It lasts up to 4 weeks in the fridge and 4 to 6 months in the freezer.
You don't need to add vinegar to homemade ginger garlic paste. But if you're concerned about shelf life, you can add a little. Just know it will make the paste slightly acidic and may affect the flavor of your dish.
Made this recipe? I'd love to know what you think! Leave a ★★★★★ rating and a review below-it motivates me to create more great content for you. You can also connect with me on Facebook and Instagram. And don't forget to subscribe to my newsletter, where I share free recipes, tips, and more!
📖 Recipe
How To Make Ginger Garlic Paste That Stays Fresh For Weeks!
Save This Recipe
Enter your email & I'll send it to your inbox.
By submitting this form, you consent to receive emails from MyGoodFoodWorld
Ingredients
Equipment
Instructions
- Wash and pat dry the ginger. Peel it using a spoon. Chop into small pieces. Peel and chop the garlic. The smaller your ginger and garlic pieces are, the faster they will grind to a smooth paste.
- Place the chopped ginger and garlic in a blender jar. Add the water, oil, and salt. Grind to a smooth, lump-free puree.5-6 inches (~60g) fresh ginger, 7-8 large cloves (~40g) garlic, 3 teaspoons neutral oil, 1 and ½ teaspoons salt, 1 tablespoon water
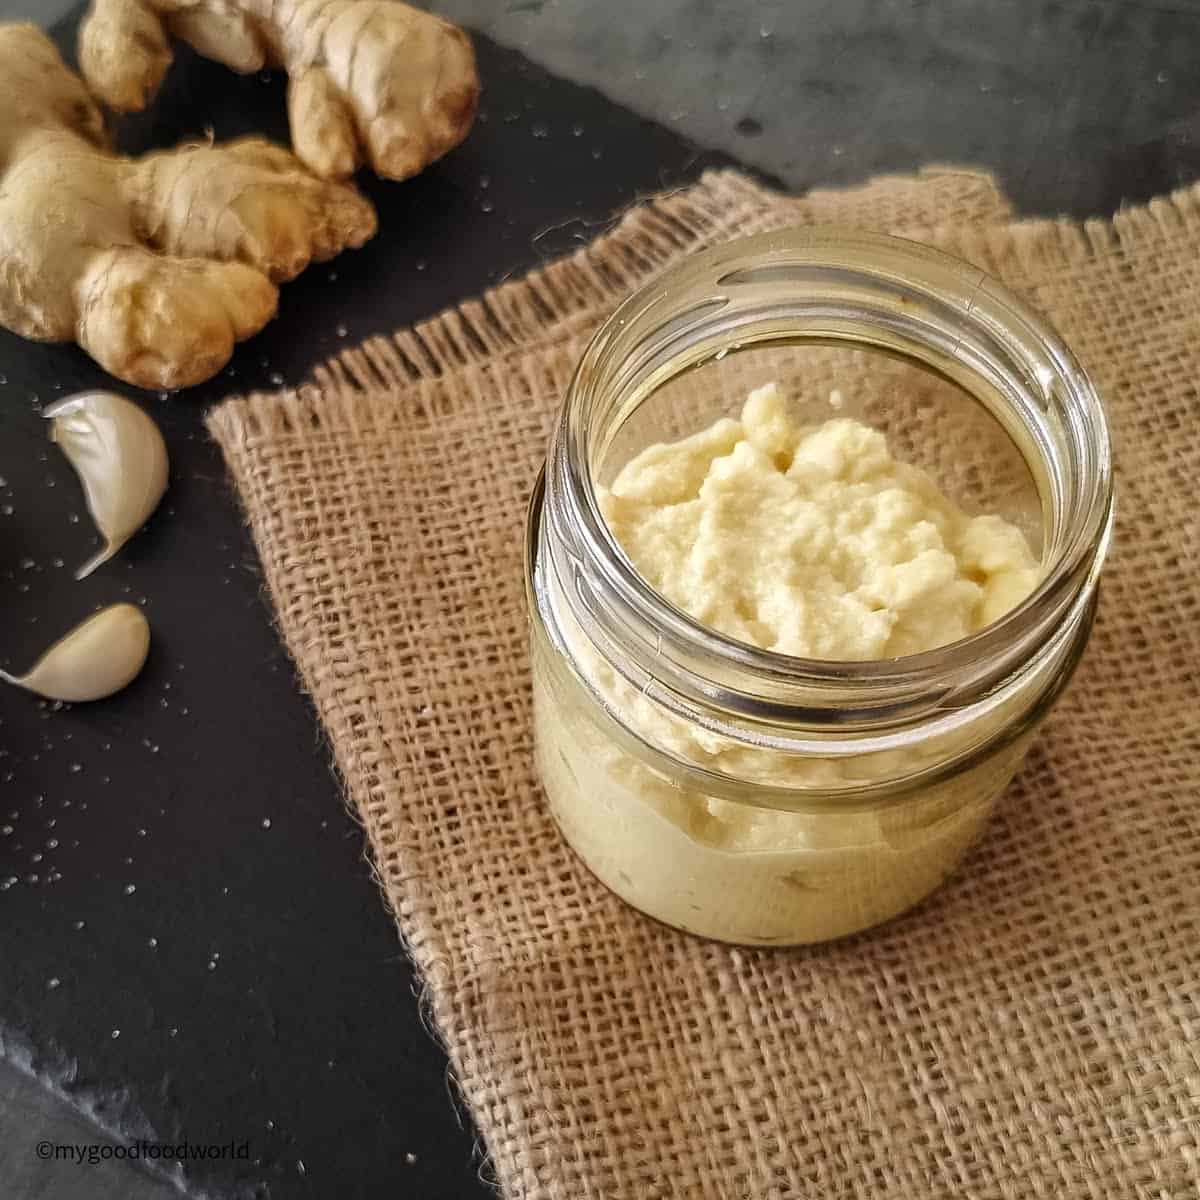
- Store it in a clean glass bottle with a tight-fitting lid.
Nutrition
The nutritional information is calculated using an online calculator and is based on available ingredients and preparation. It should not be considered a substitute for a professional nutritionists' advice. Changing the quantities and cooking technique will alter the nutritional calculations.
Video
Notes
Alternative quantities provided in the recipe card are for 1x only.
Our content aims to be informative and educational, but it should not replace professional medical advice. Since manufacturing processes can vary and cross-contamination is possible, it's essential to verify product labels and allergen information. Make sure all ingredients align with your specific allergies. As readers, you bear the responsibility for ensuring allergen safety when buying or consuming foods.


Amy says
Very convenient to have on hand, and a wonderful way to use up my extra ginger and garlic before they go bad.
Padma Kumar says
Oh yes, such a savior!
Sharon says
This is a great way to preserve the last bits of ginger and/or garlic before they go bad!
Padma Kumar says
yes, and so handy!
bunfuns says
I always cook with garlic and ginger, maybe i'll make this in big batches. Thanks for sharing!
Padma Kumar says
You are welcome! This will be a game changer, for sure 🙂
bunfuns says
I would like to try this recipe soon. Thanks for sharing.
Debbie says
Great recipe for garlic ginger paste. Thank you for the easy to follow instructions to make it at home.
Padma Kumar says
Thank you for your feedback Debbie.
Amber says
Great idea! We use so much of this in our home kitchen. I'm so trying this! Love the idea without all those gunky preservatives.
Padma Kumar says
Thank you Amber, the fresh taste of it is just amazing!
Devaki says
Bless you Padma for this saviour of a recipe! Makes cooking so easy!
Padma Kumar says
Thank you so much Devaki.